[91 Demolition] is late - Nexus 6P dismantling
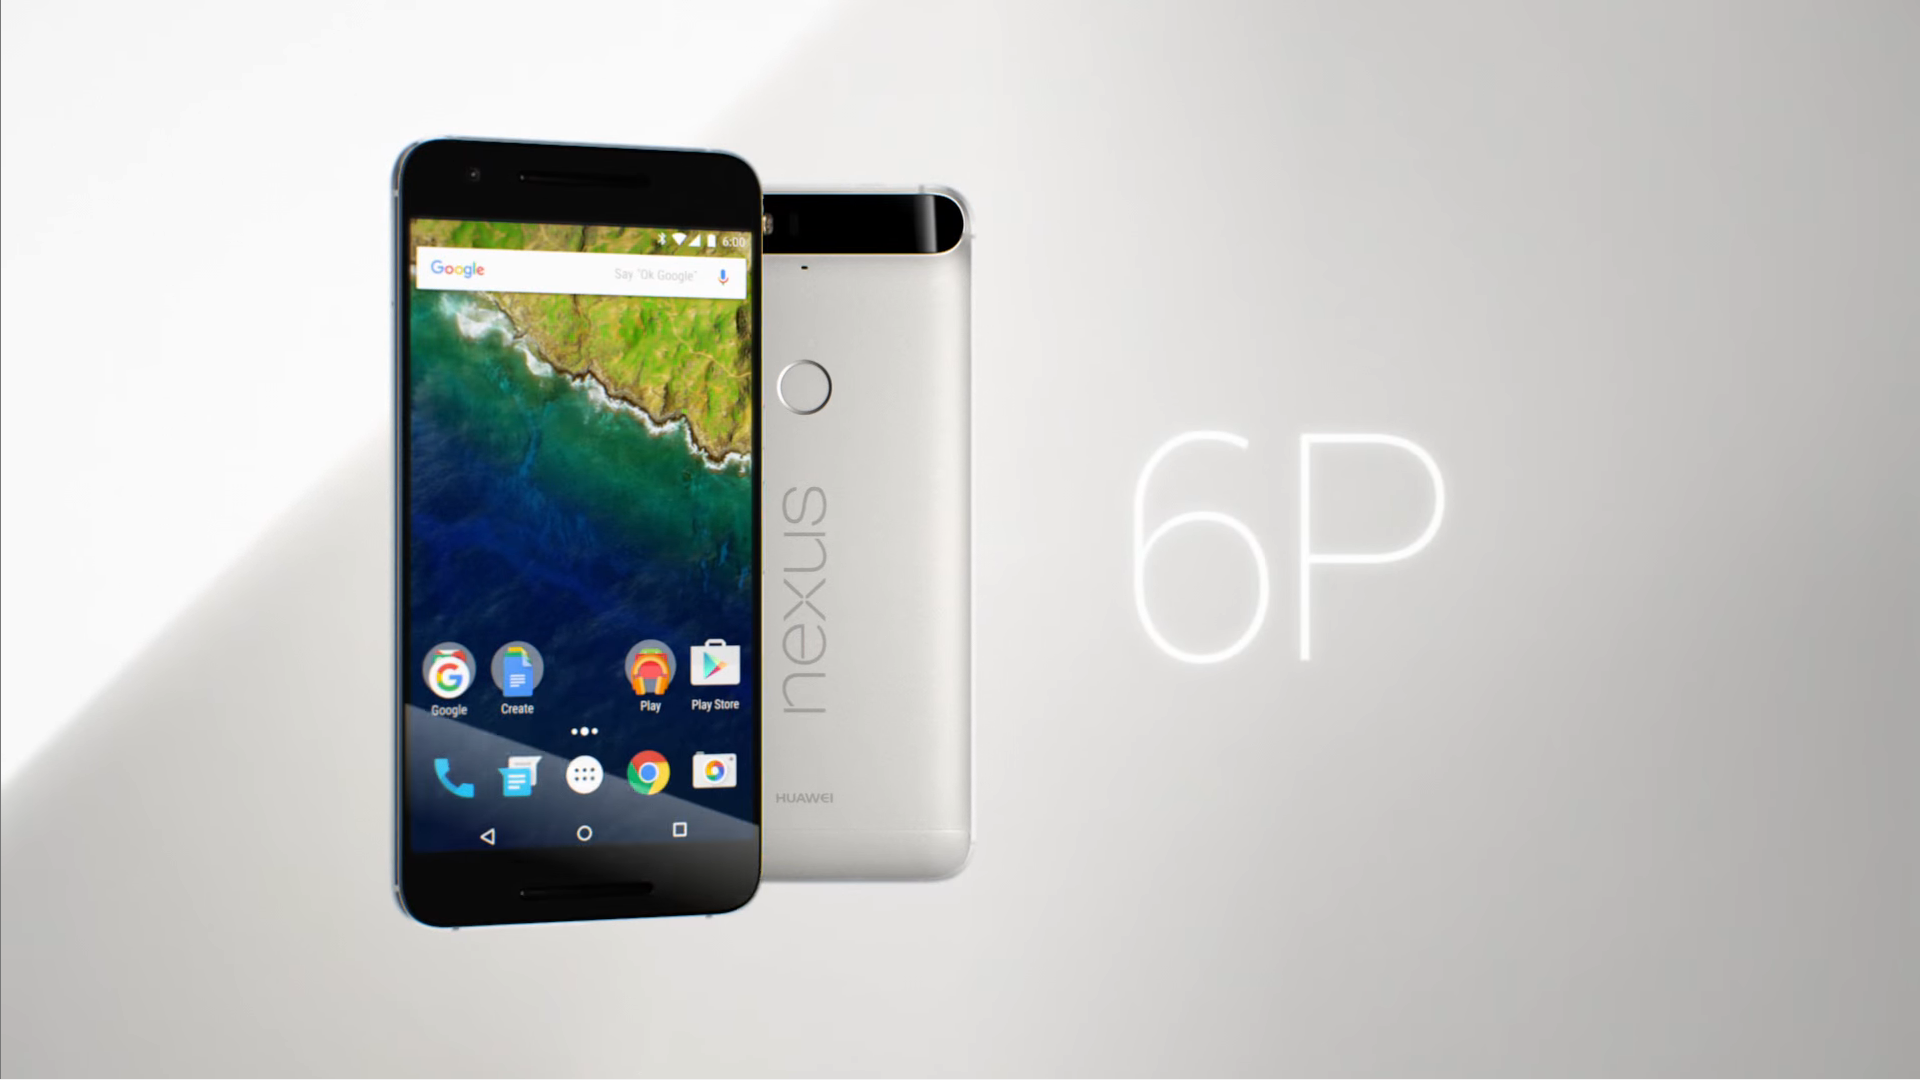
This year Google made a new change in the Nexus series - the parent and son of the size Nexus 6P/5X, as an upgraded version of the previous Nexus 6/5. Among them, Nexus 6P is the first model that was built by Huawei, a domestic manufacturer. Huawei has succeeded in the domestic market with its dual-brand strategy in recent years. The overseas market is also actively expanding. However, the US market has been stuck outside due to previous political reasons. This time, with the explicit goal of the OEM's pro-son to enter the army, what is the hardware quality of the 6P, which has a unique advantage in the system?
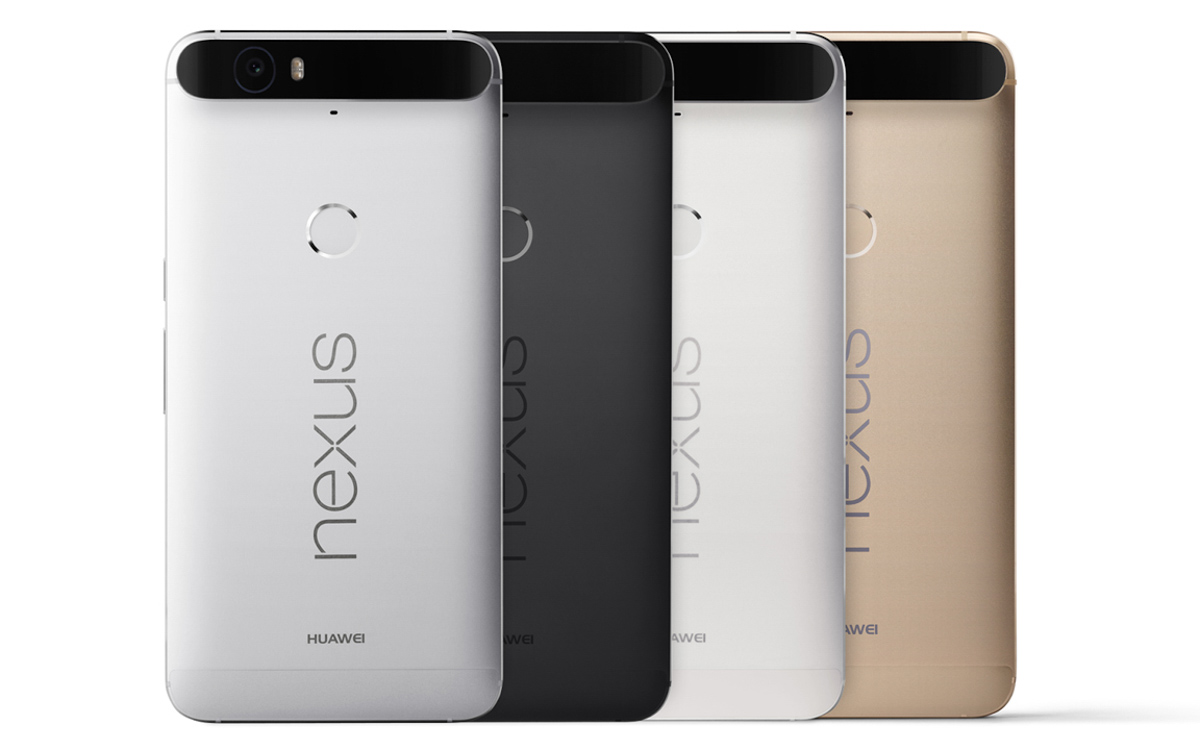
Before actually dismantling, it is customary to first look at the hardware configuration of the Nexus 6P:
Qualcomm Snapdragon 810 version 2.1, 2.0GHz 8-core 64-bit CPU + Adreno 430 GPU;
12.3 million laser focusing rear camera, support 4K video recording, 8 million front camera;
5.7 inch 2K resolution (2560x1440) AMOLED screen, 518 ppi;
3GB LPDDR4 memory, optional 32GB, 64GB or 128GB body storage;
USB Type-C interface, support fast charge;
Nexus Imprint Fingerprinting and Android Sensor Hub;
Android 6.0 Marshmallow system;
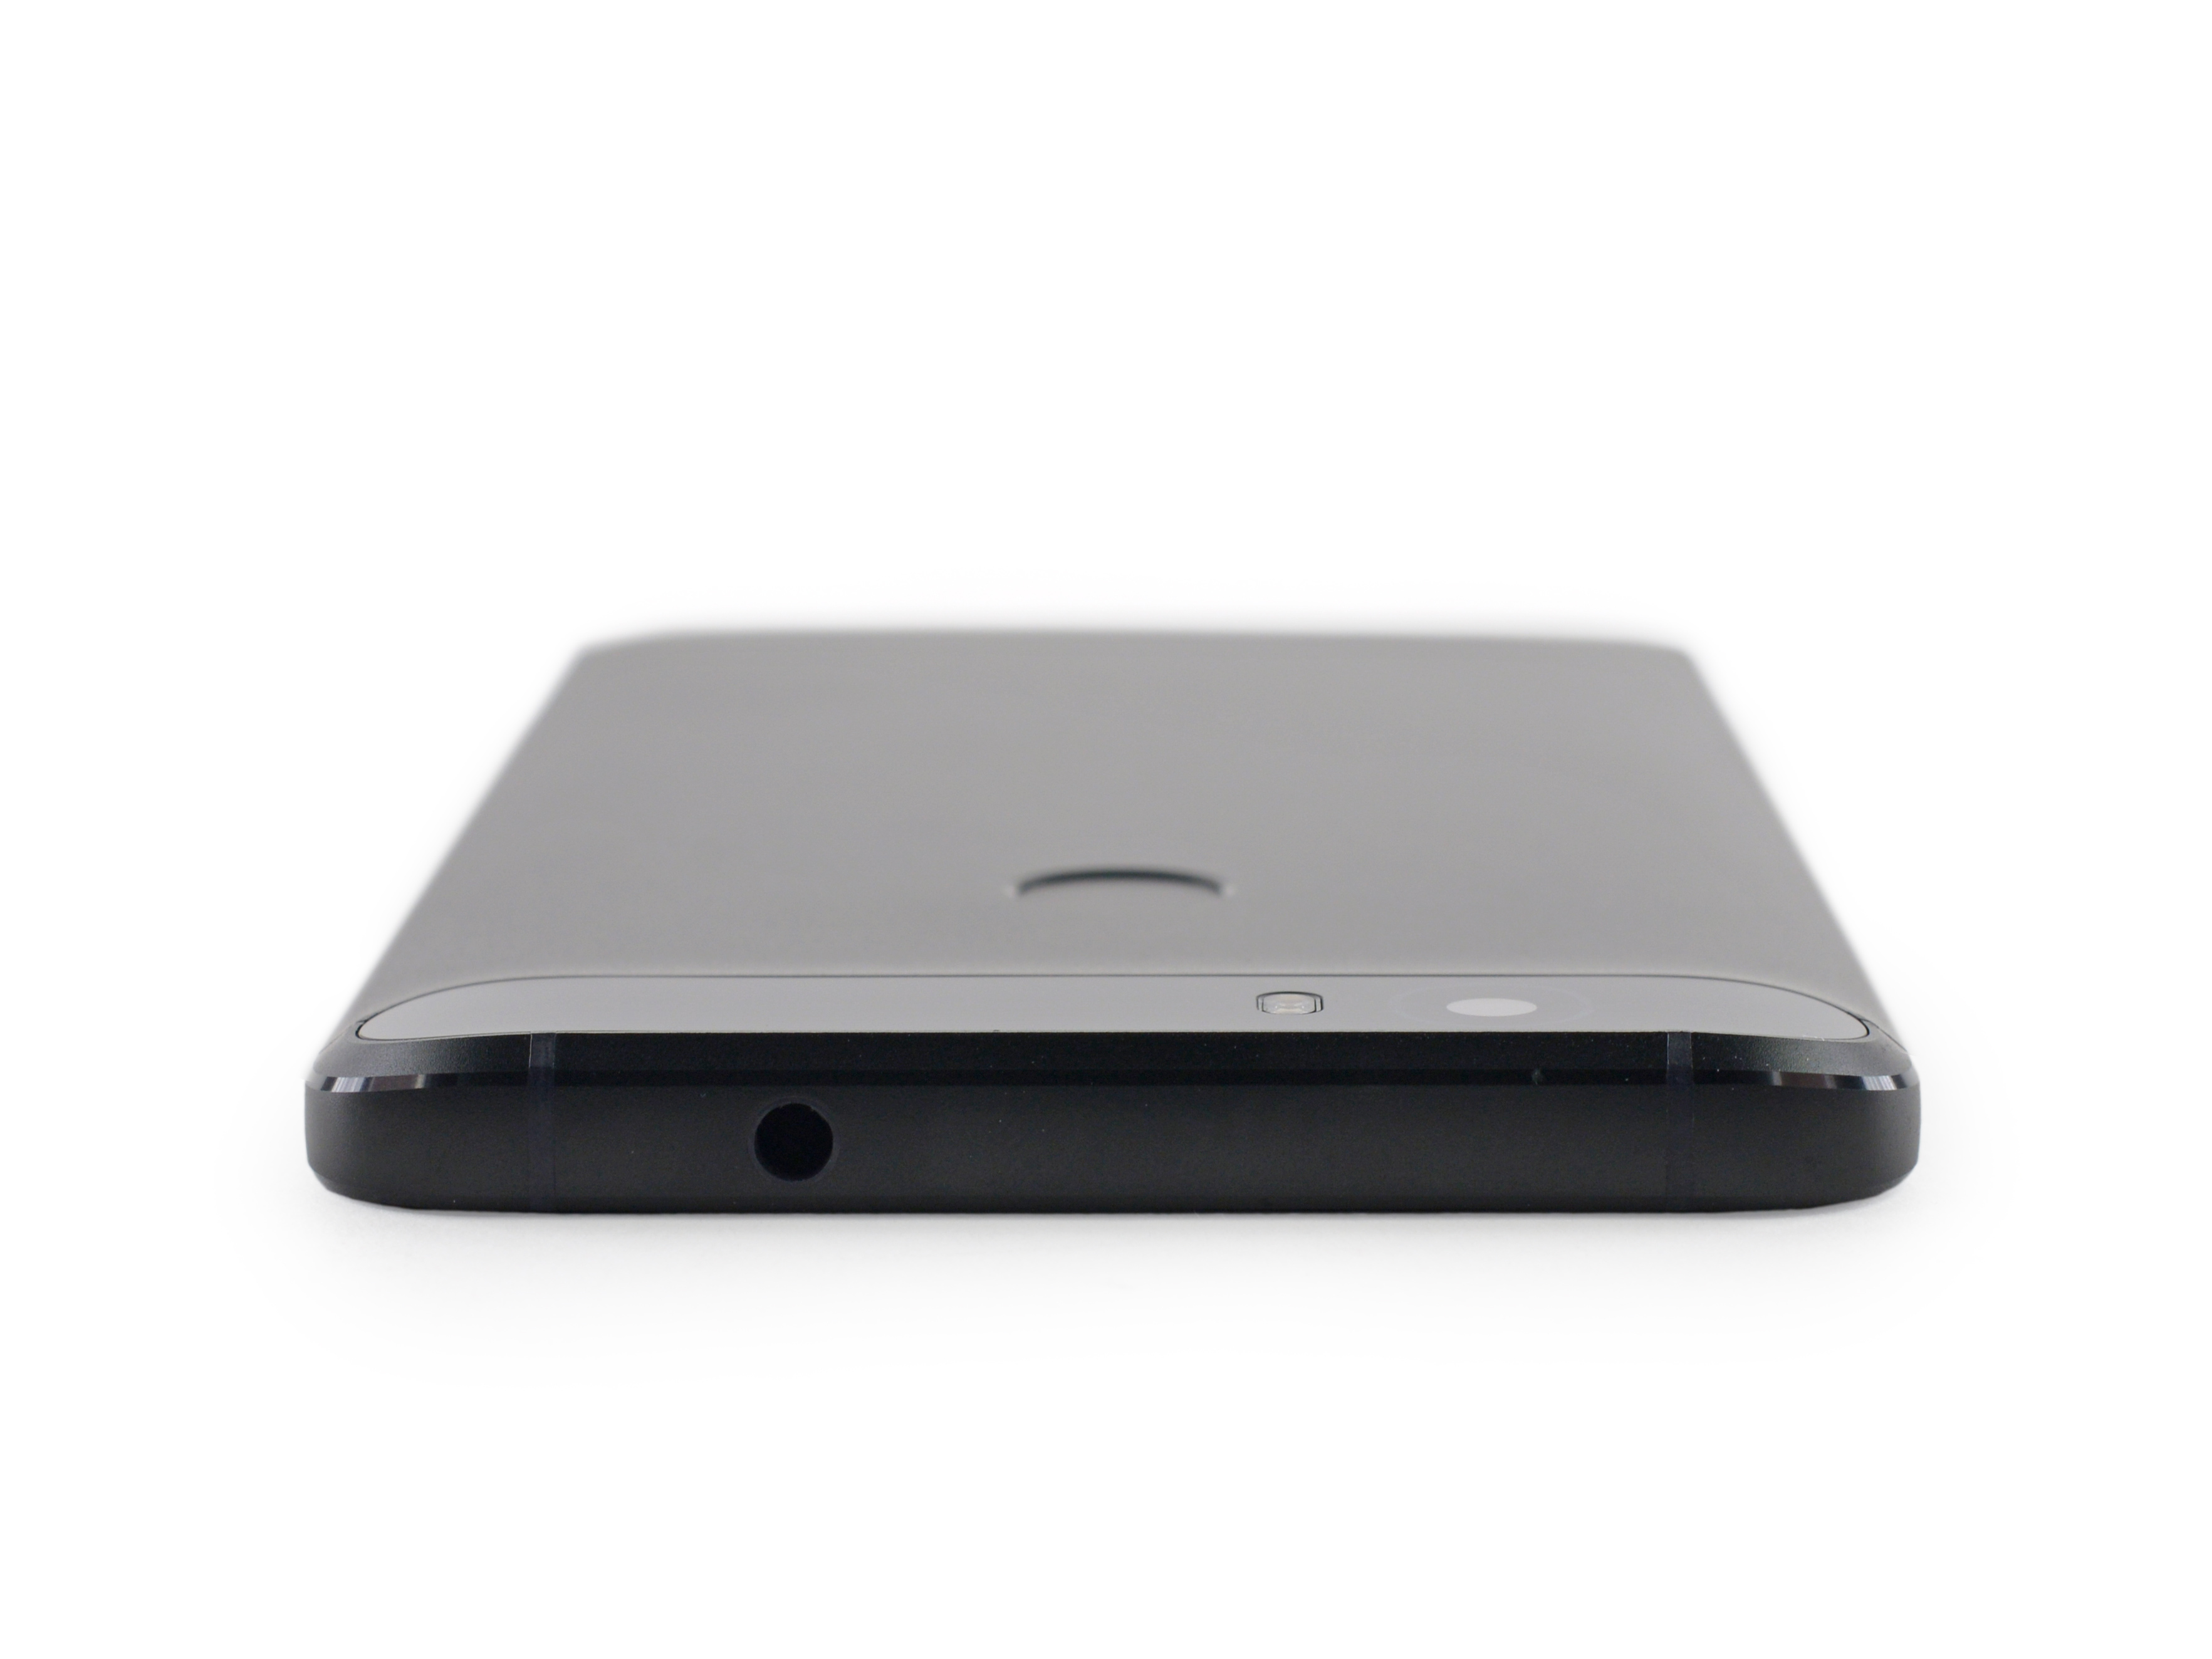
Only 3.5mm headphone jack at the top
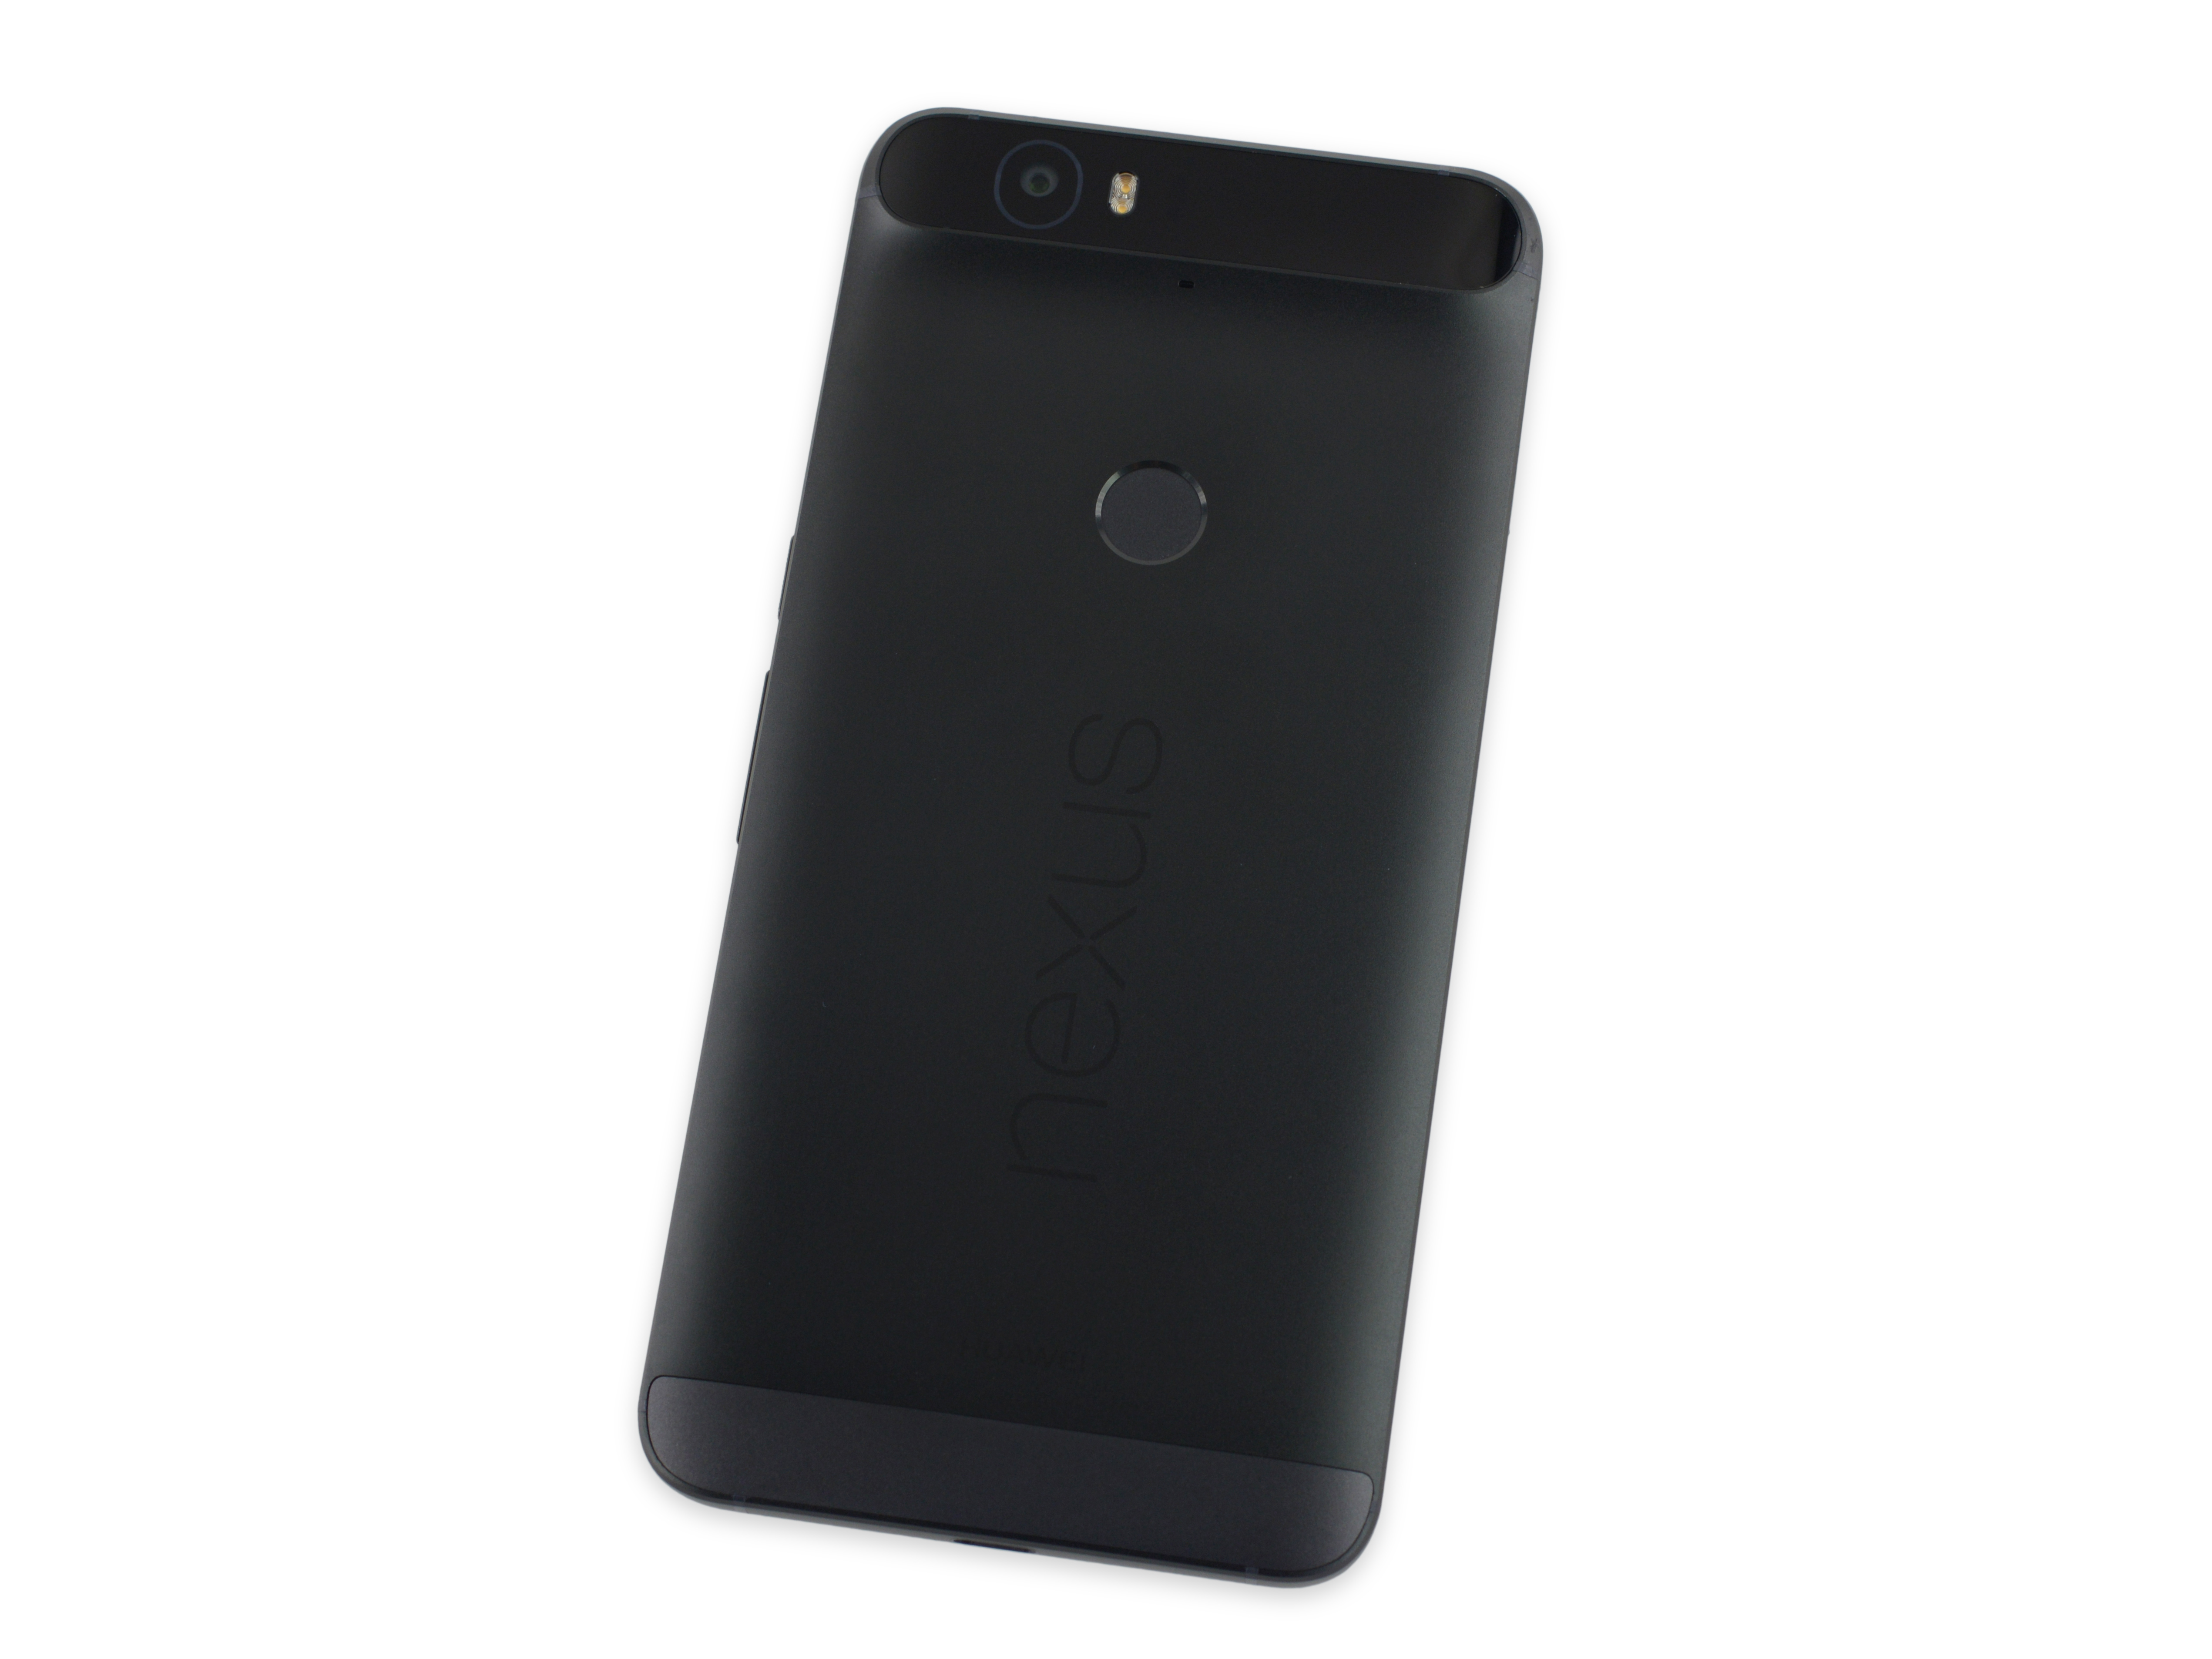
The back is very obvious "big black bar"
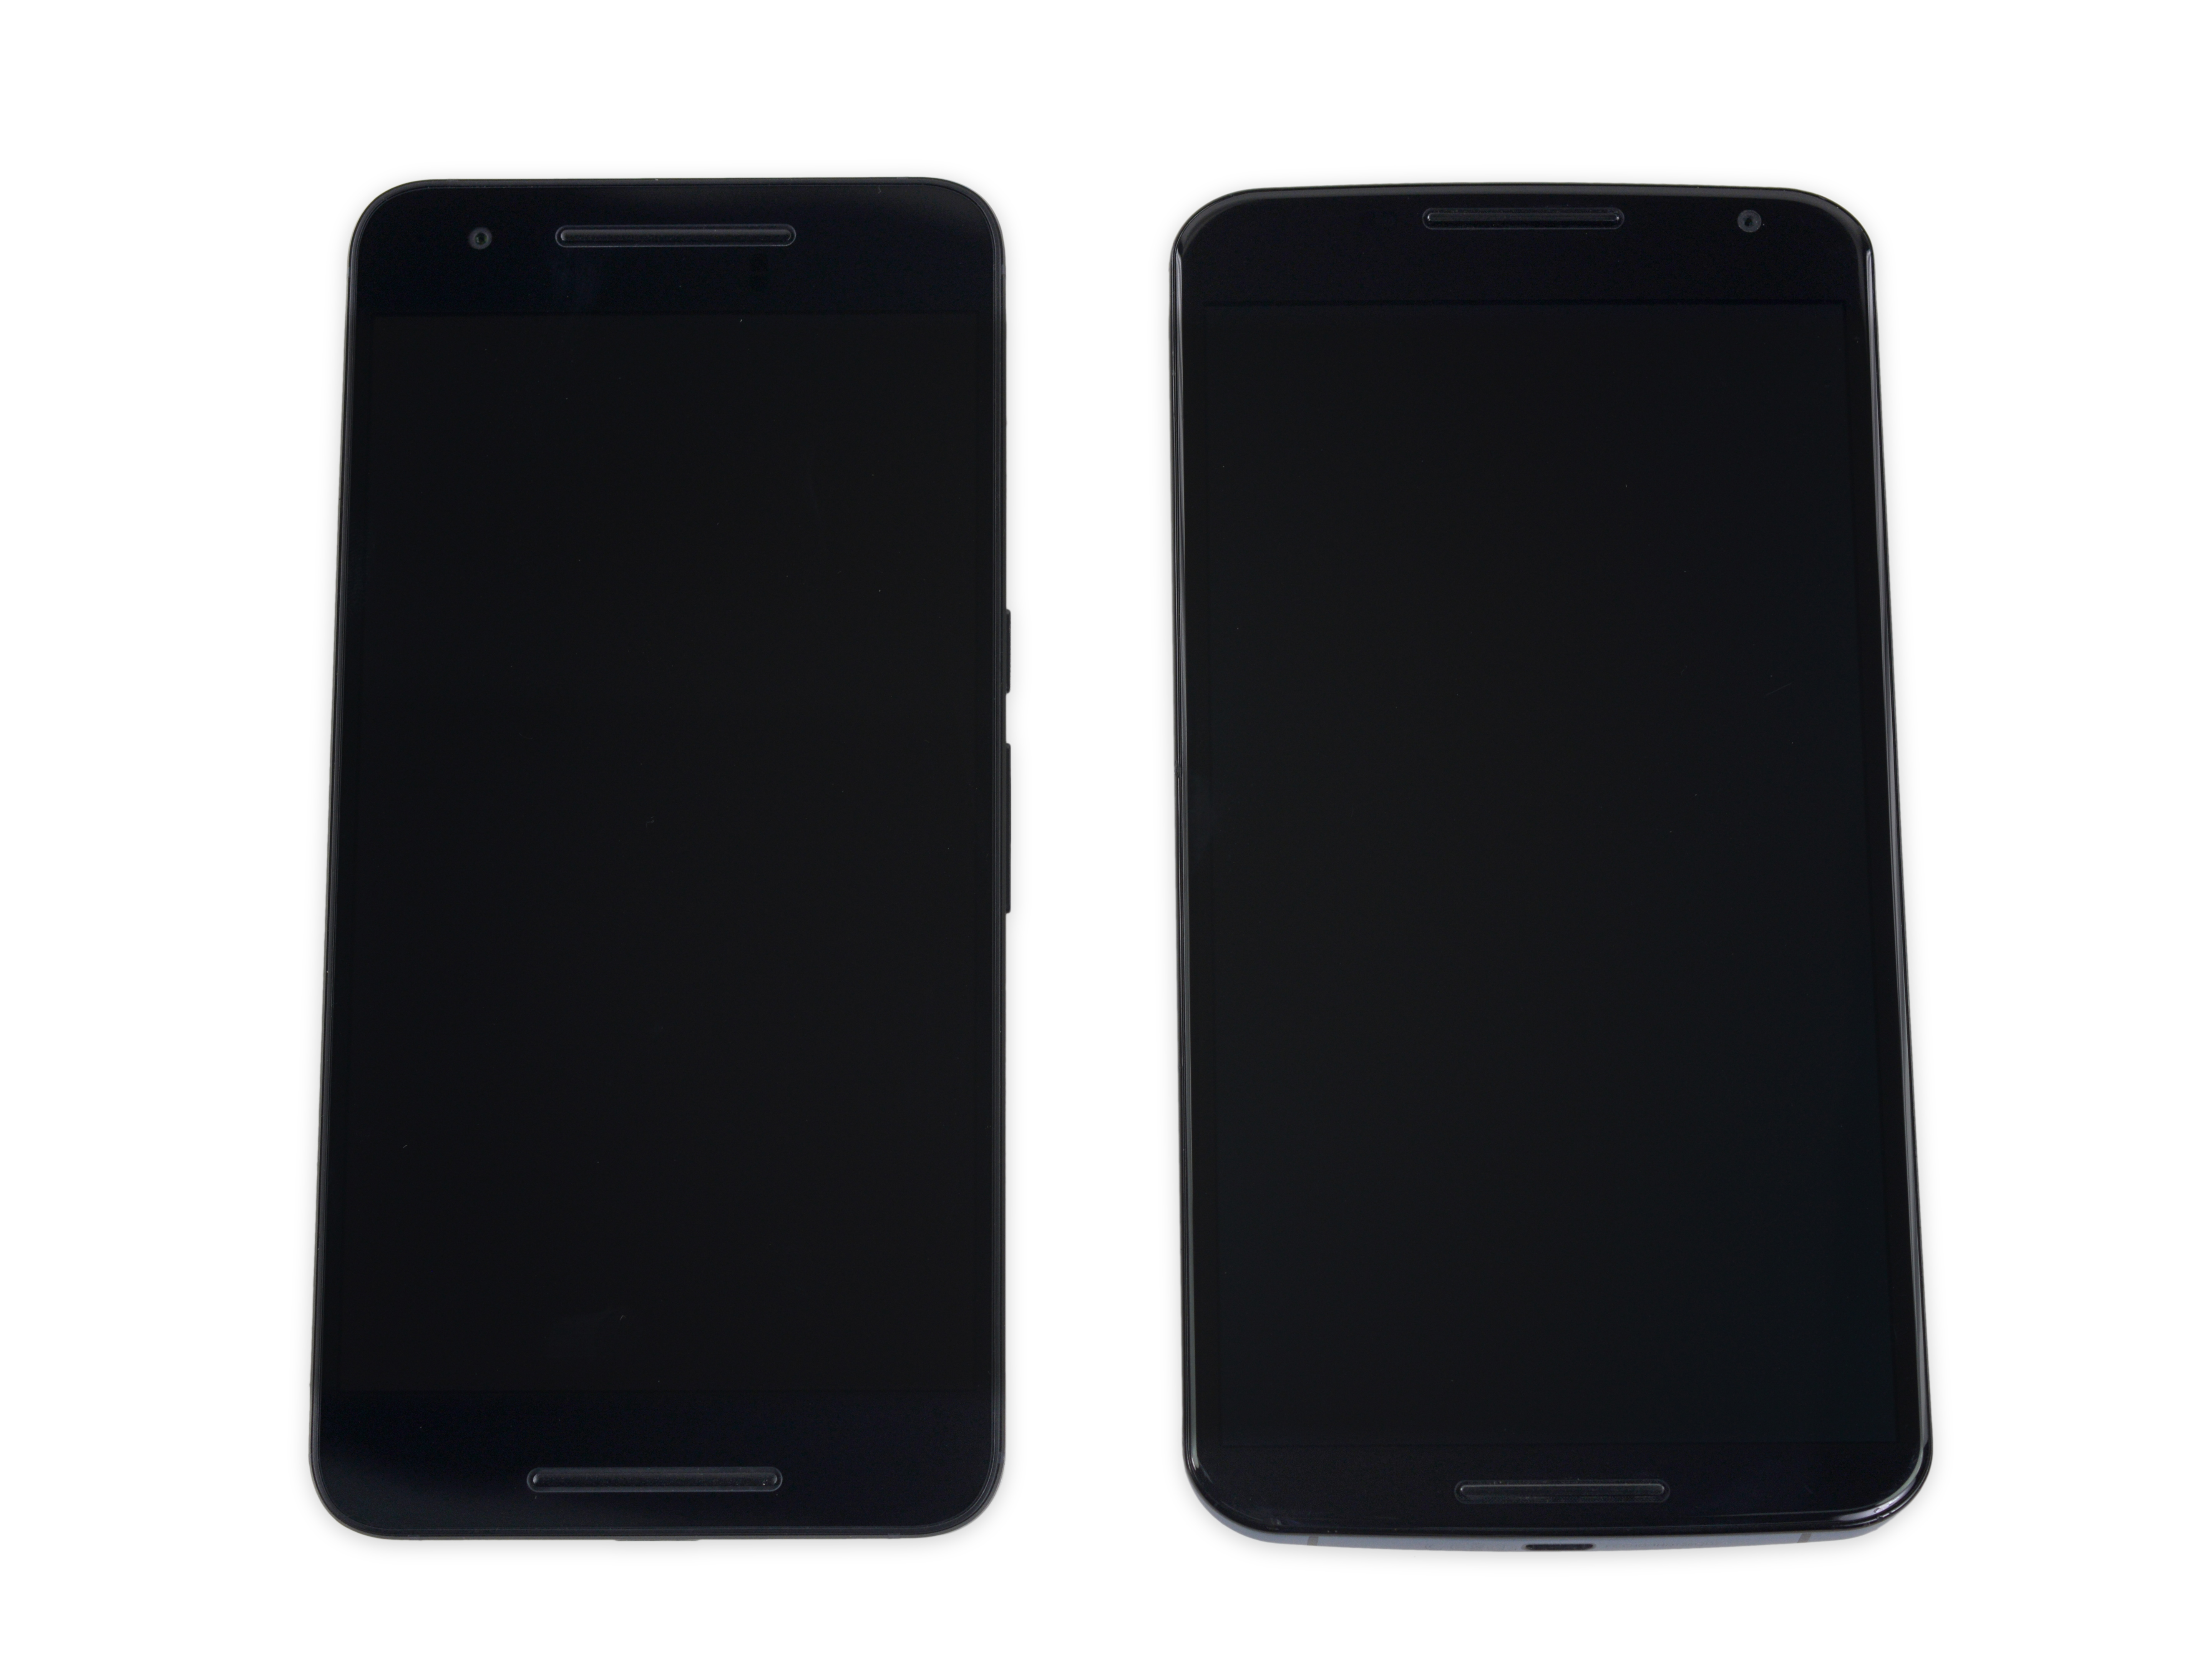
Contrast to Nexus 6, can you tell at a glance?
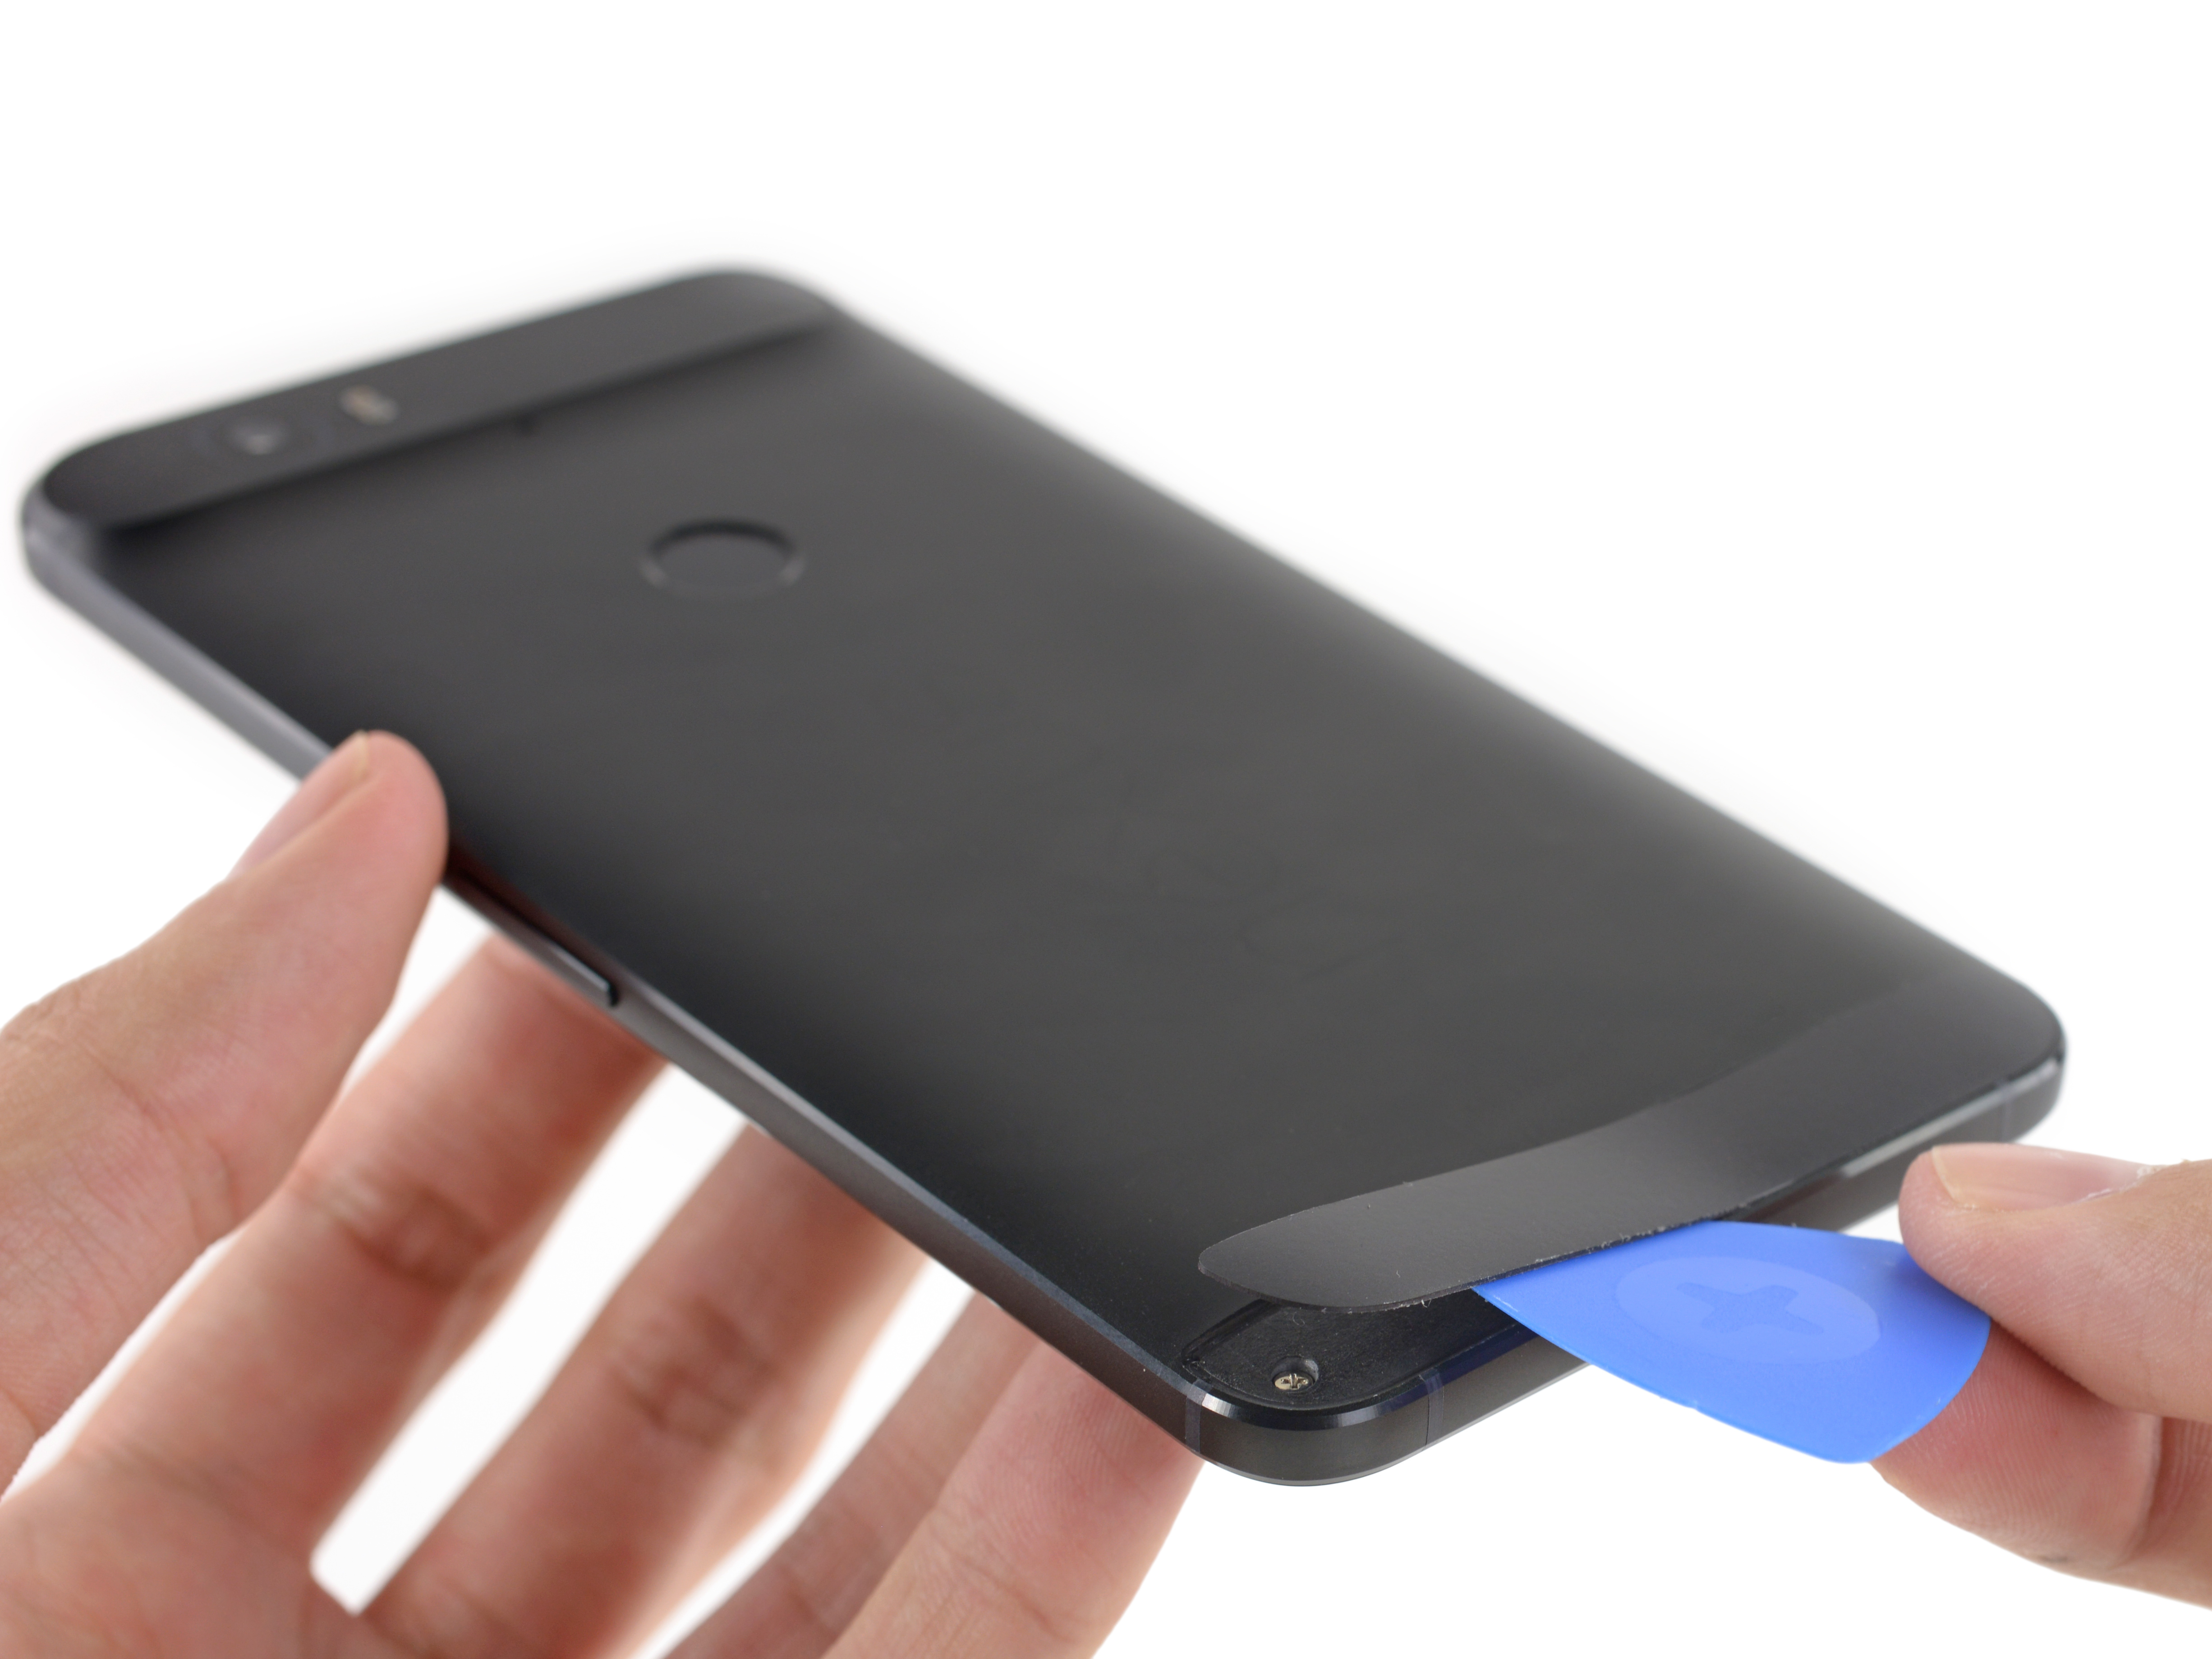
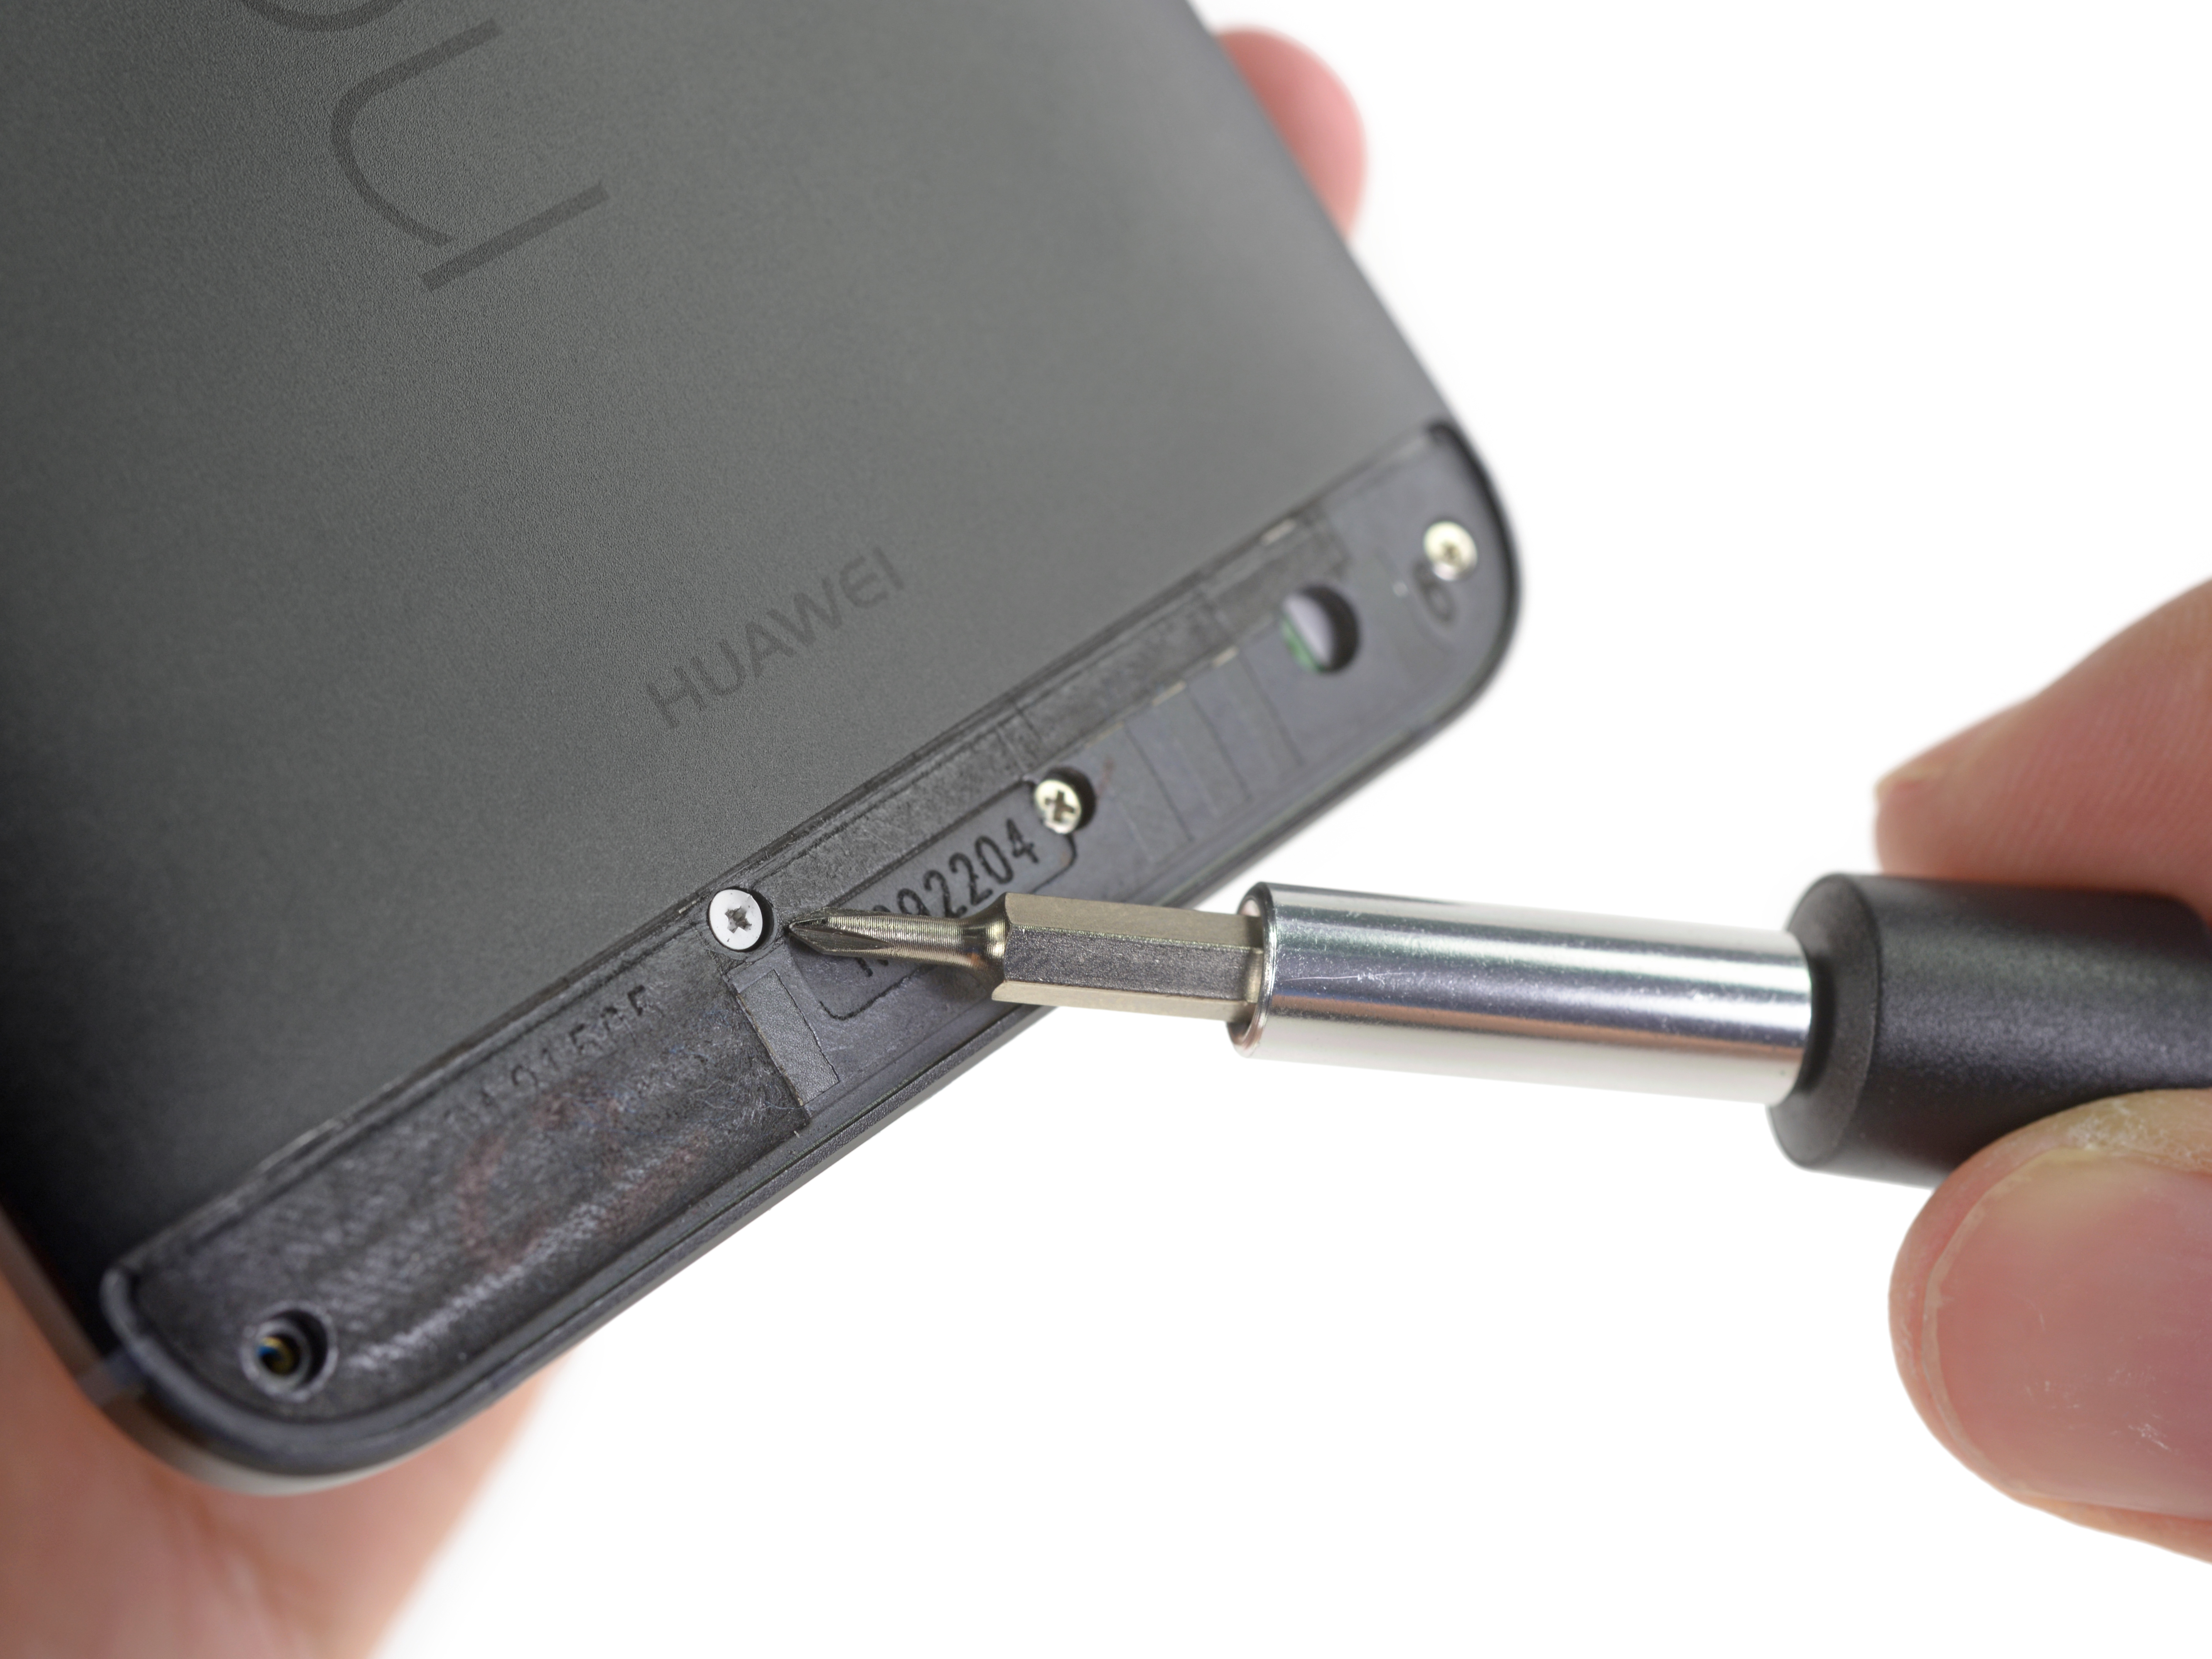
First hands from the back of the metal is not part of the heat after the pry open, there are four screws fixed
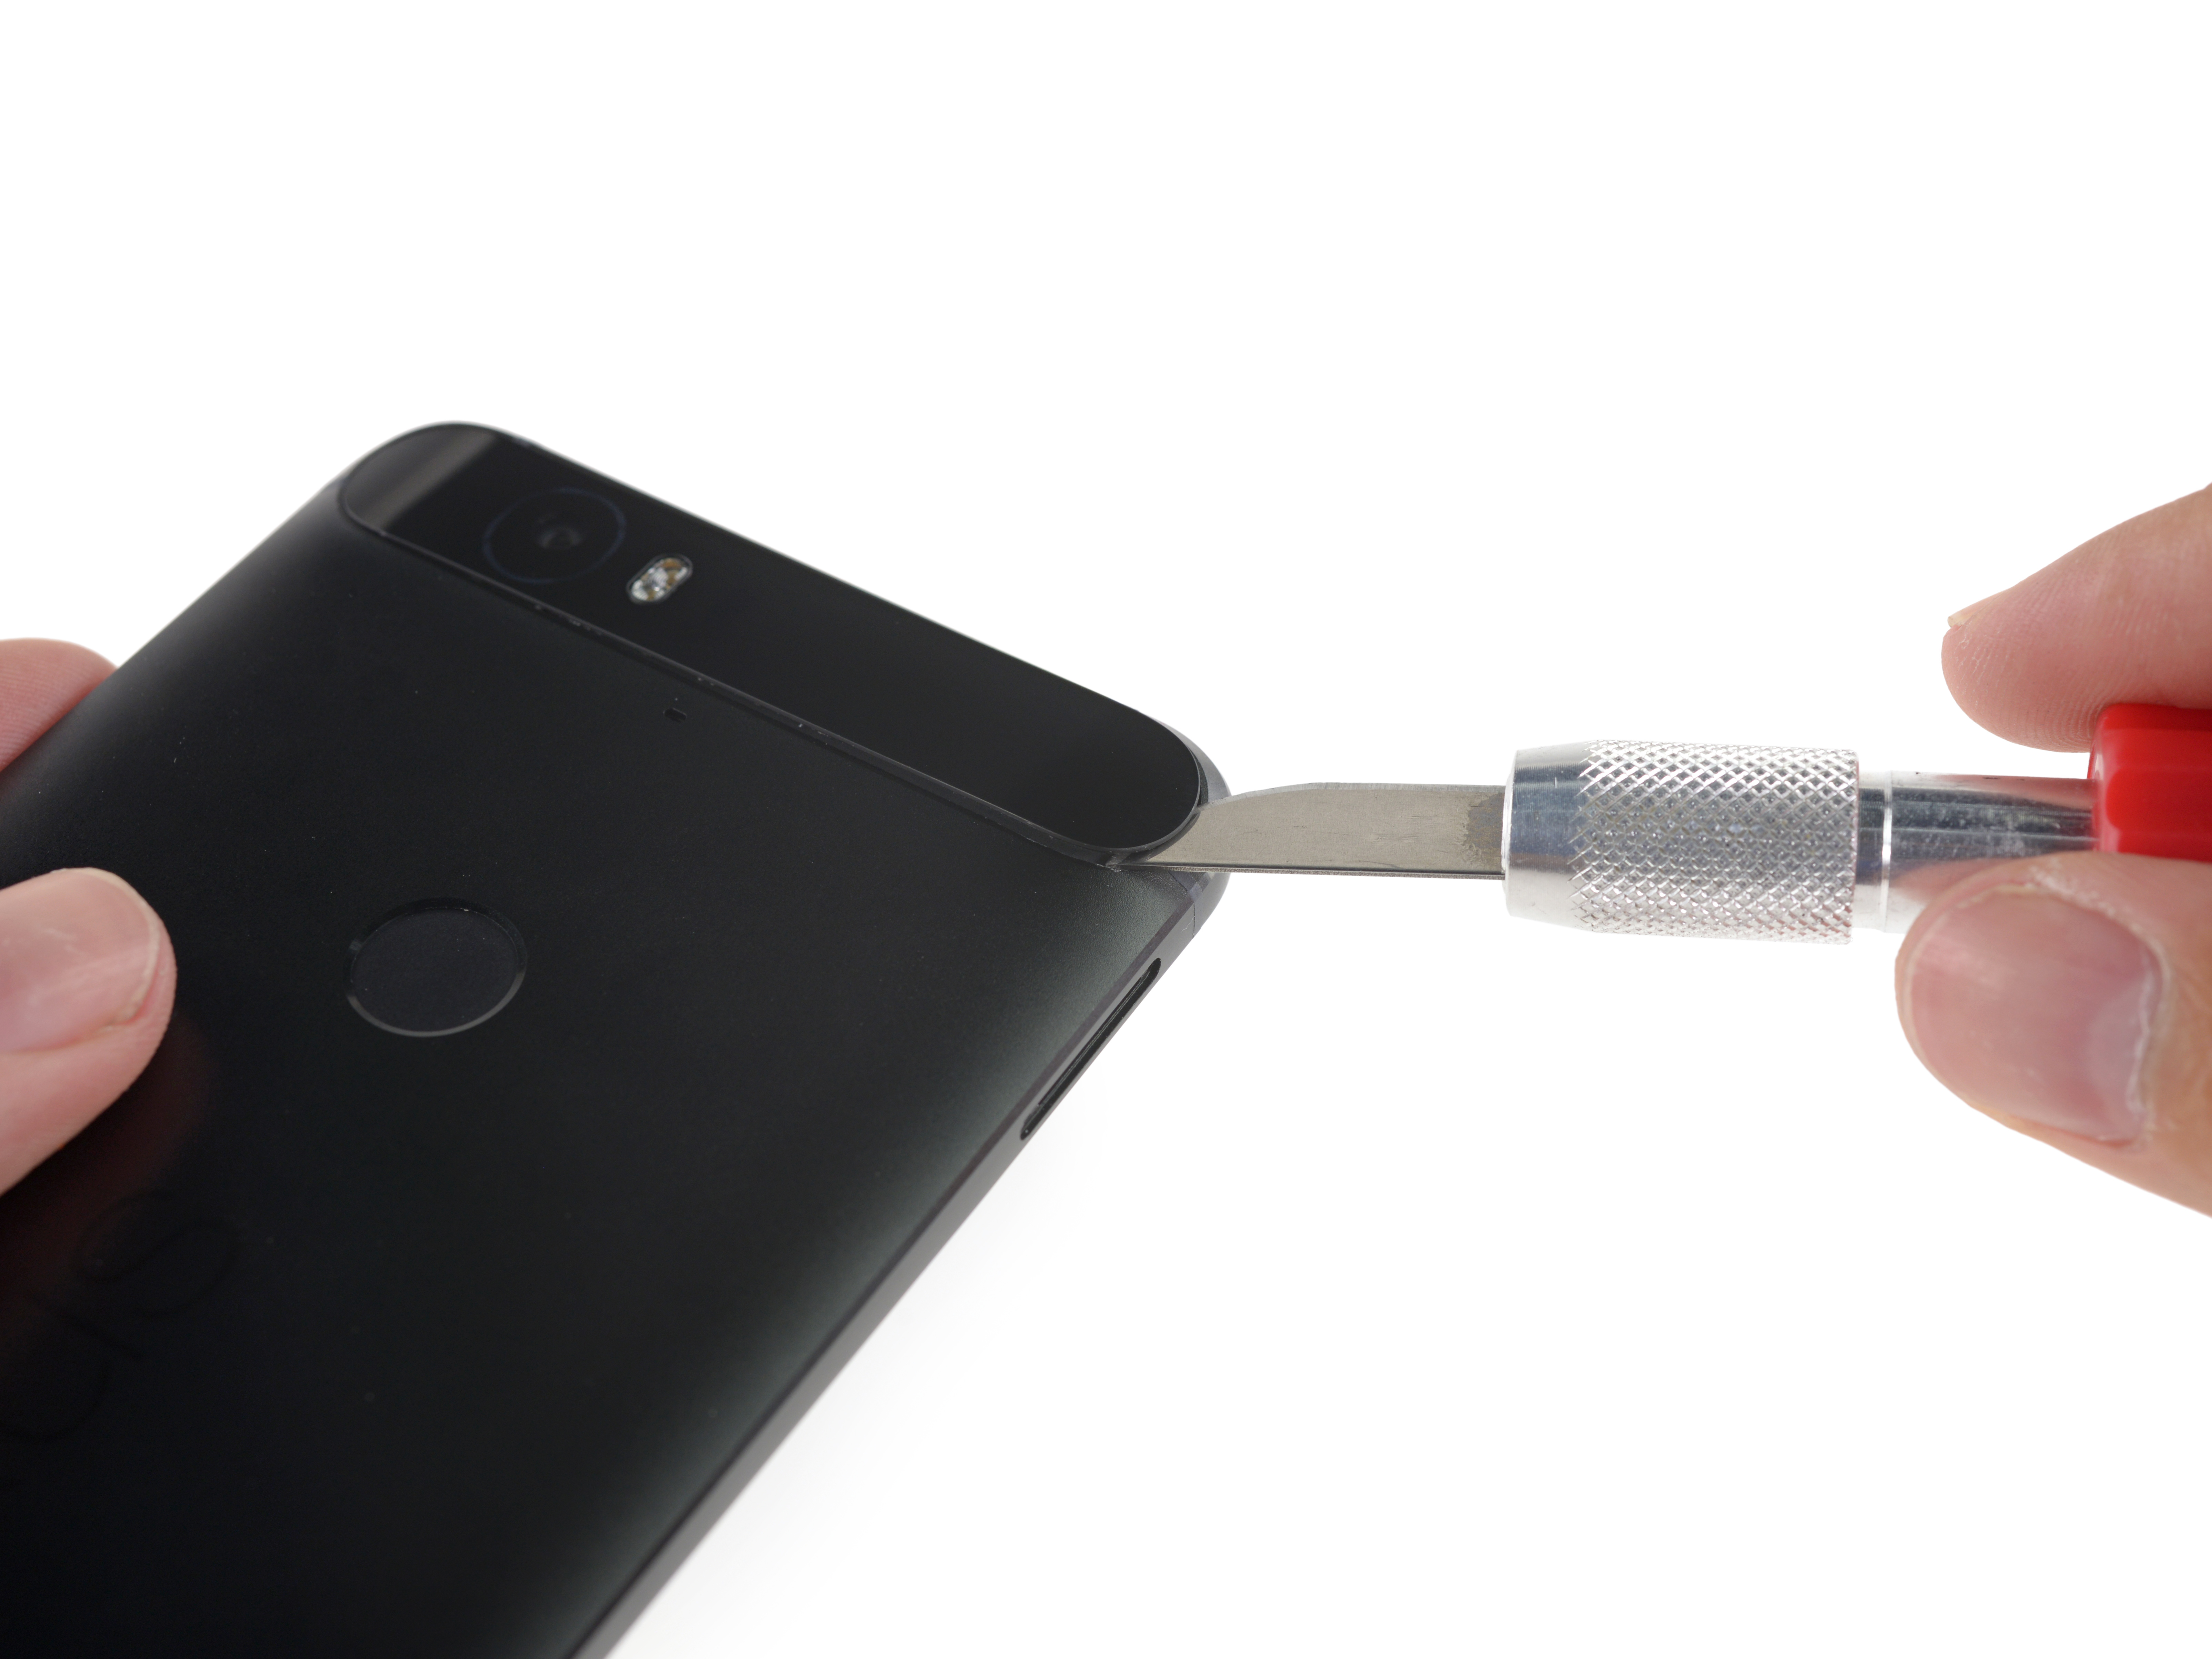
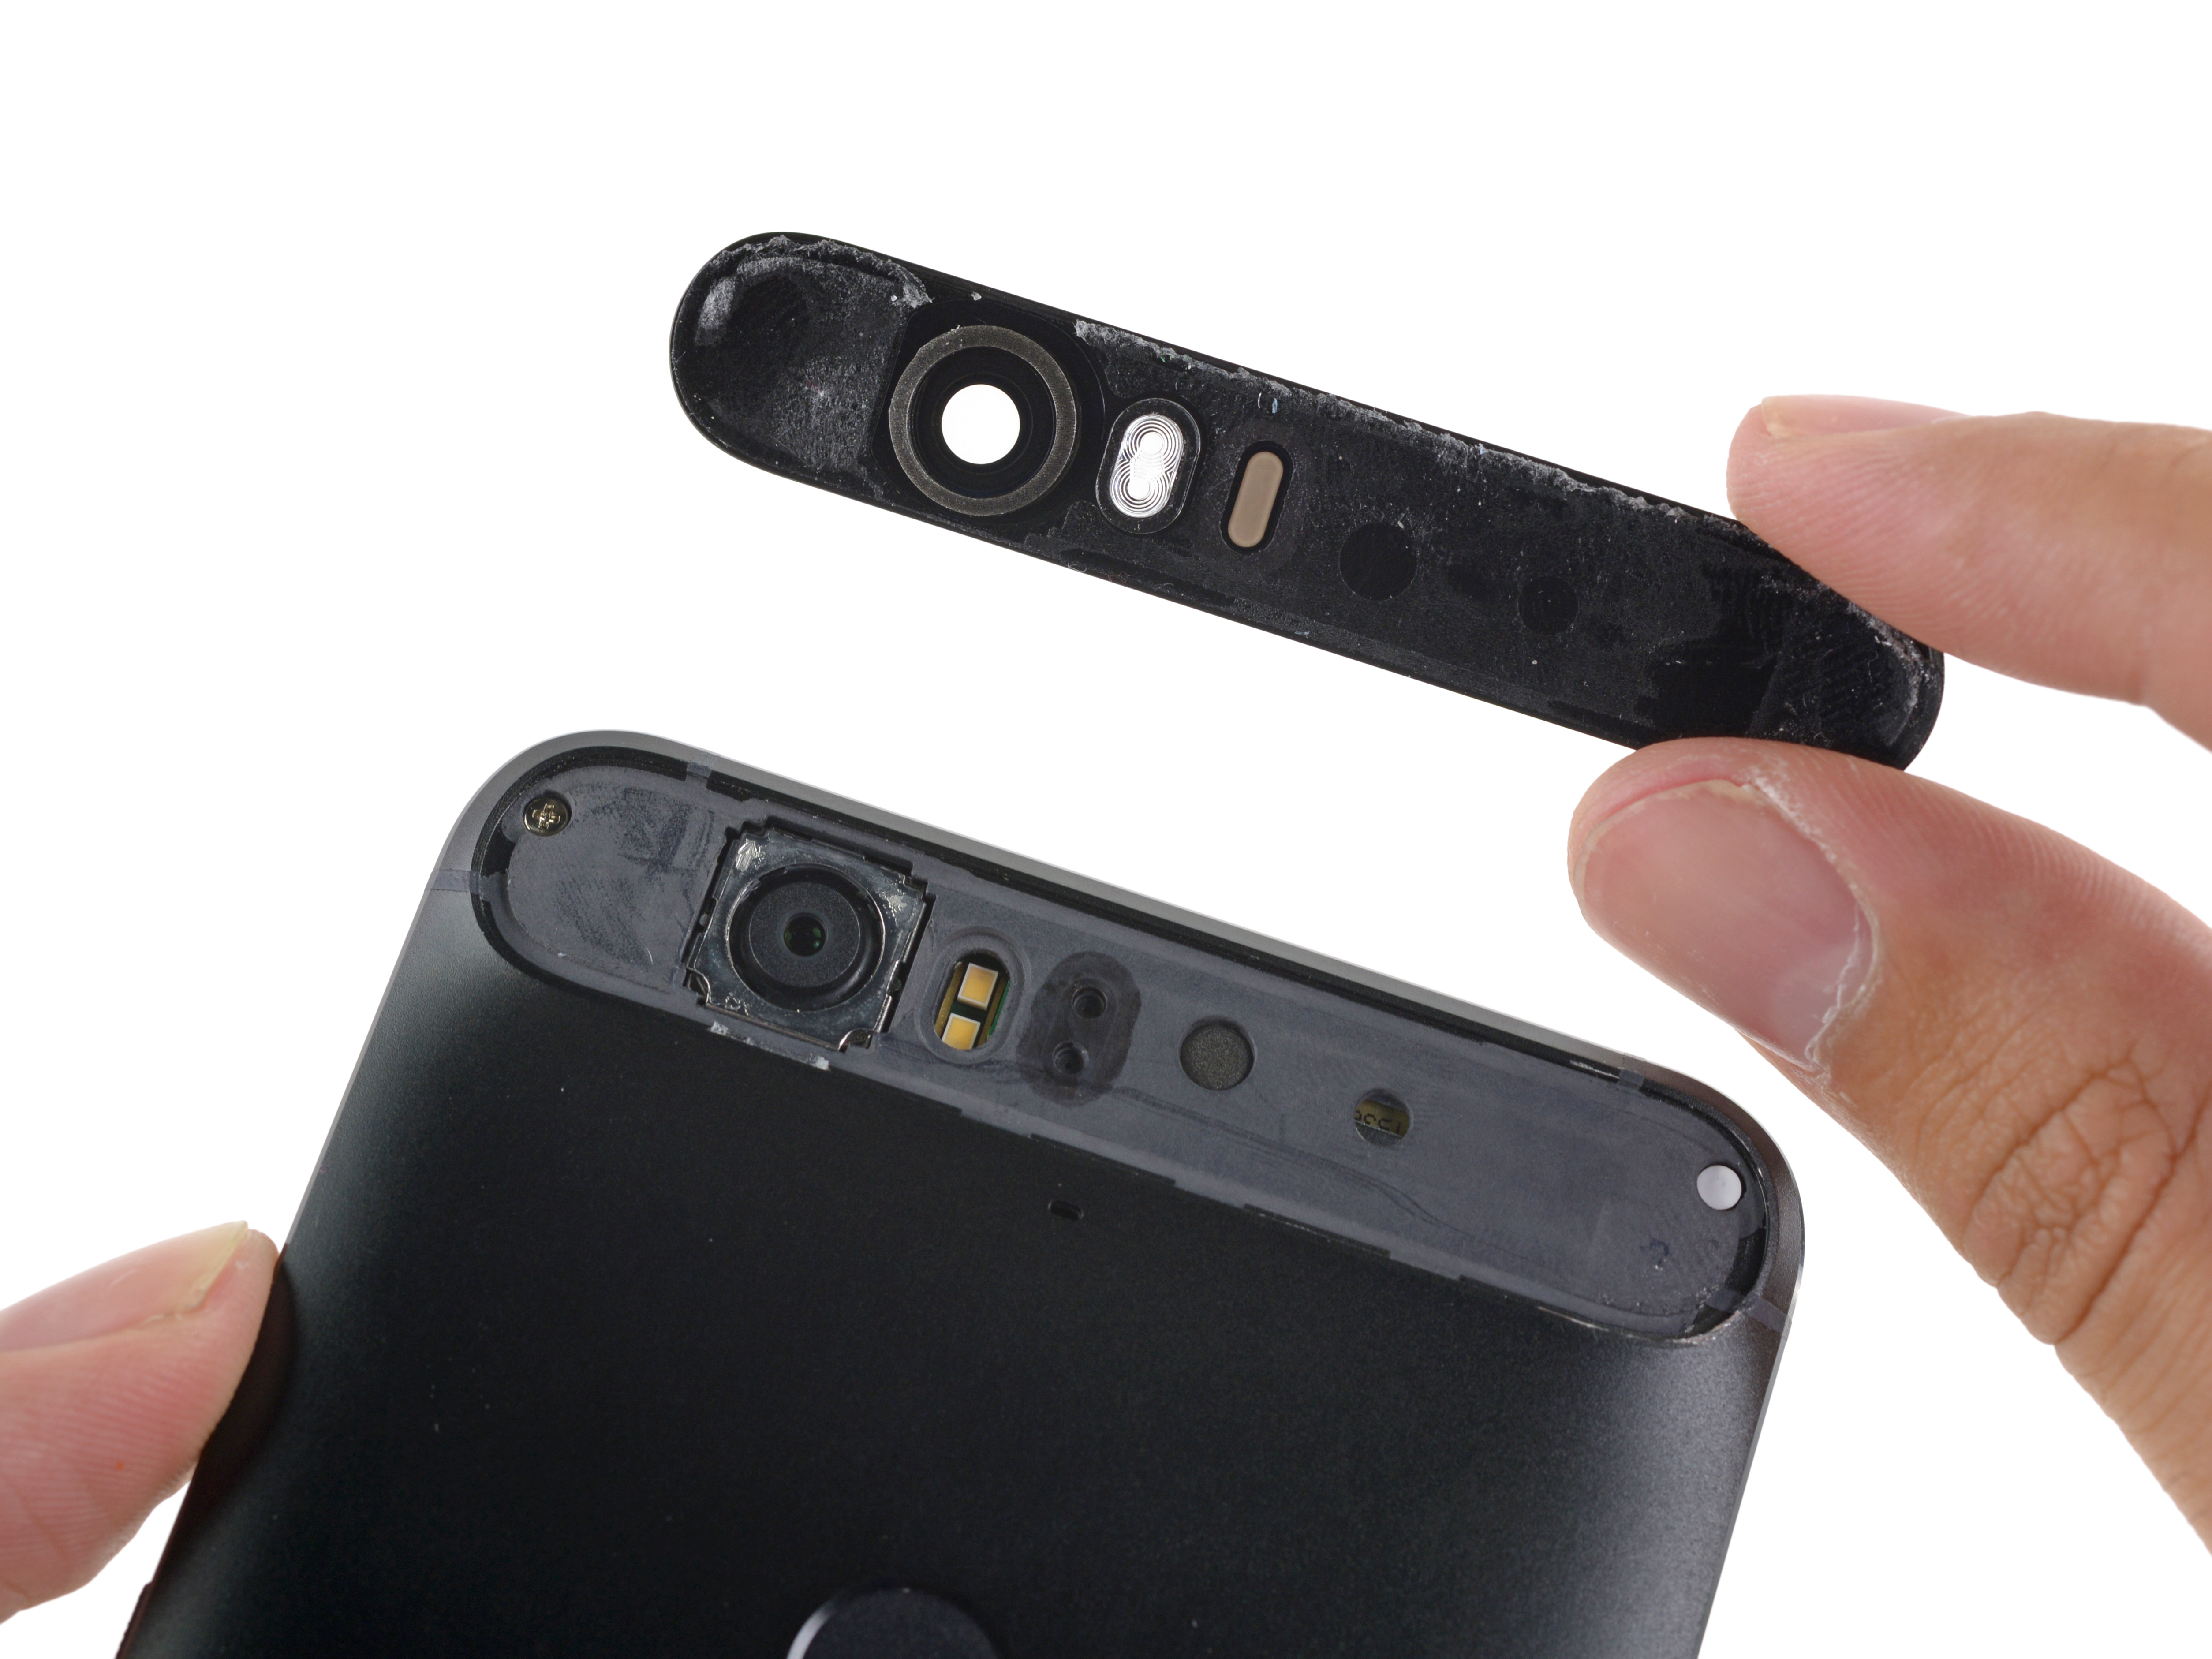
Then use the blade to open the camera cover, a thick layer of glue...
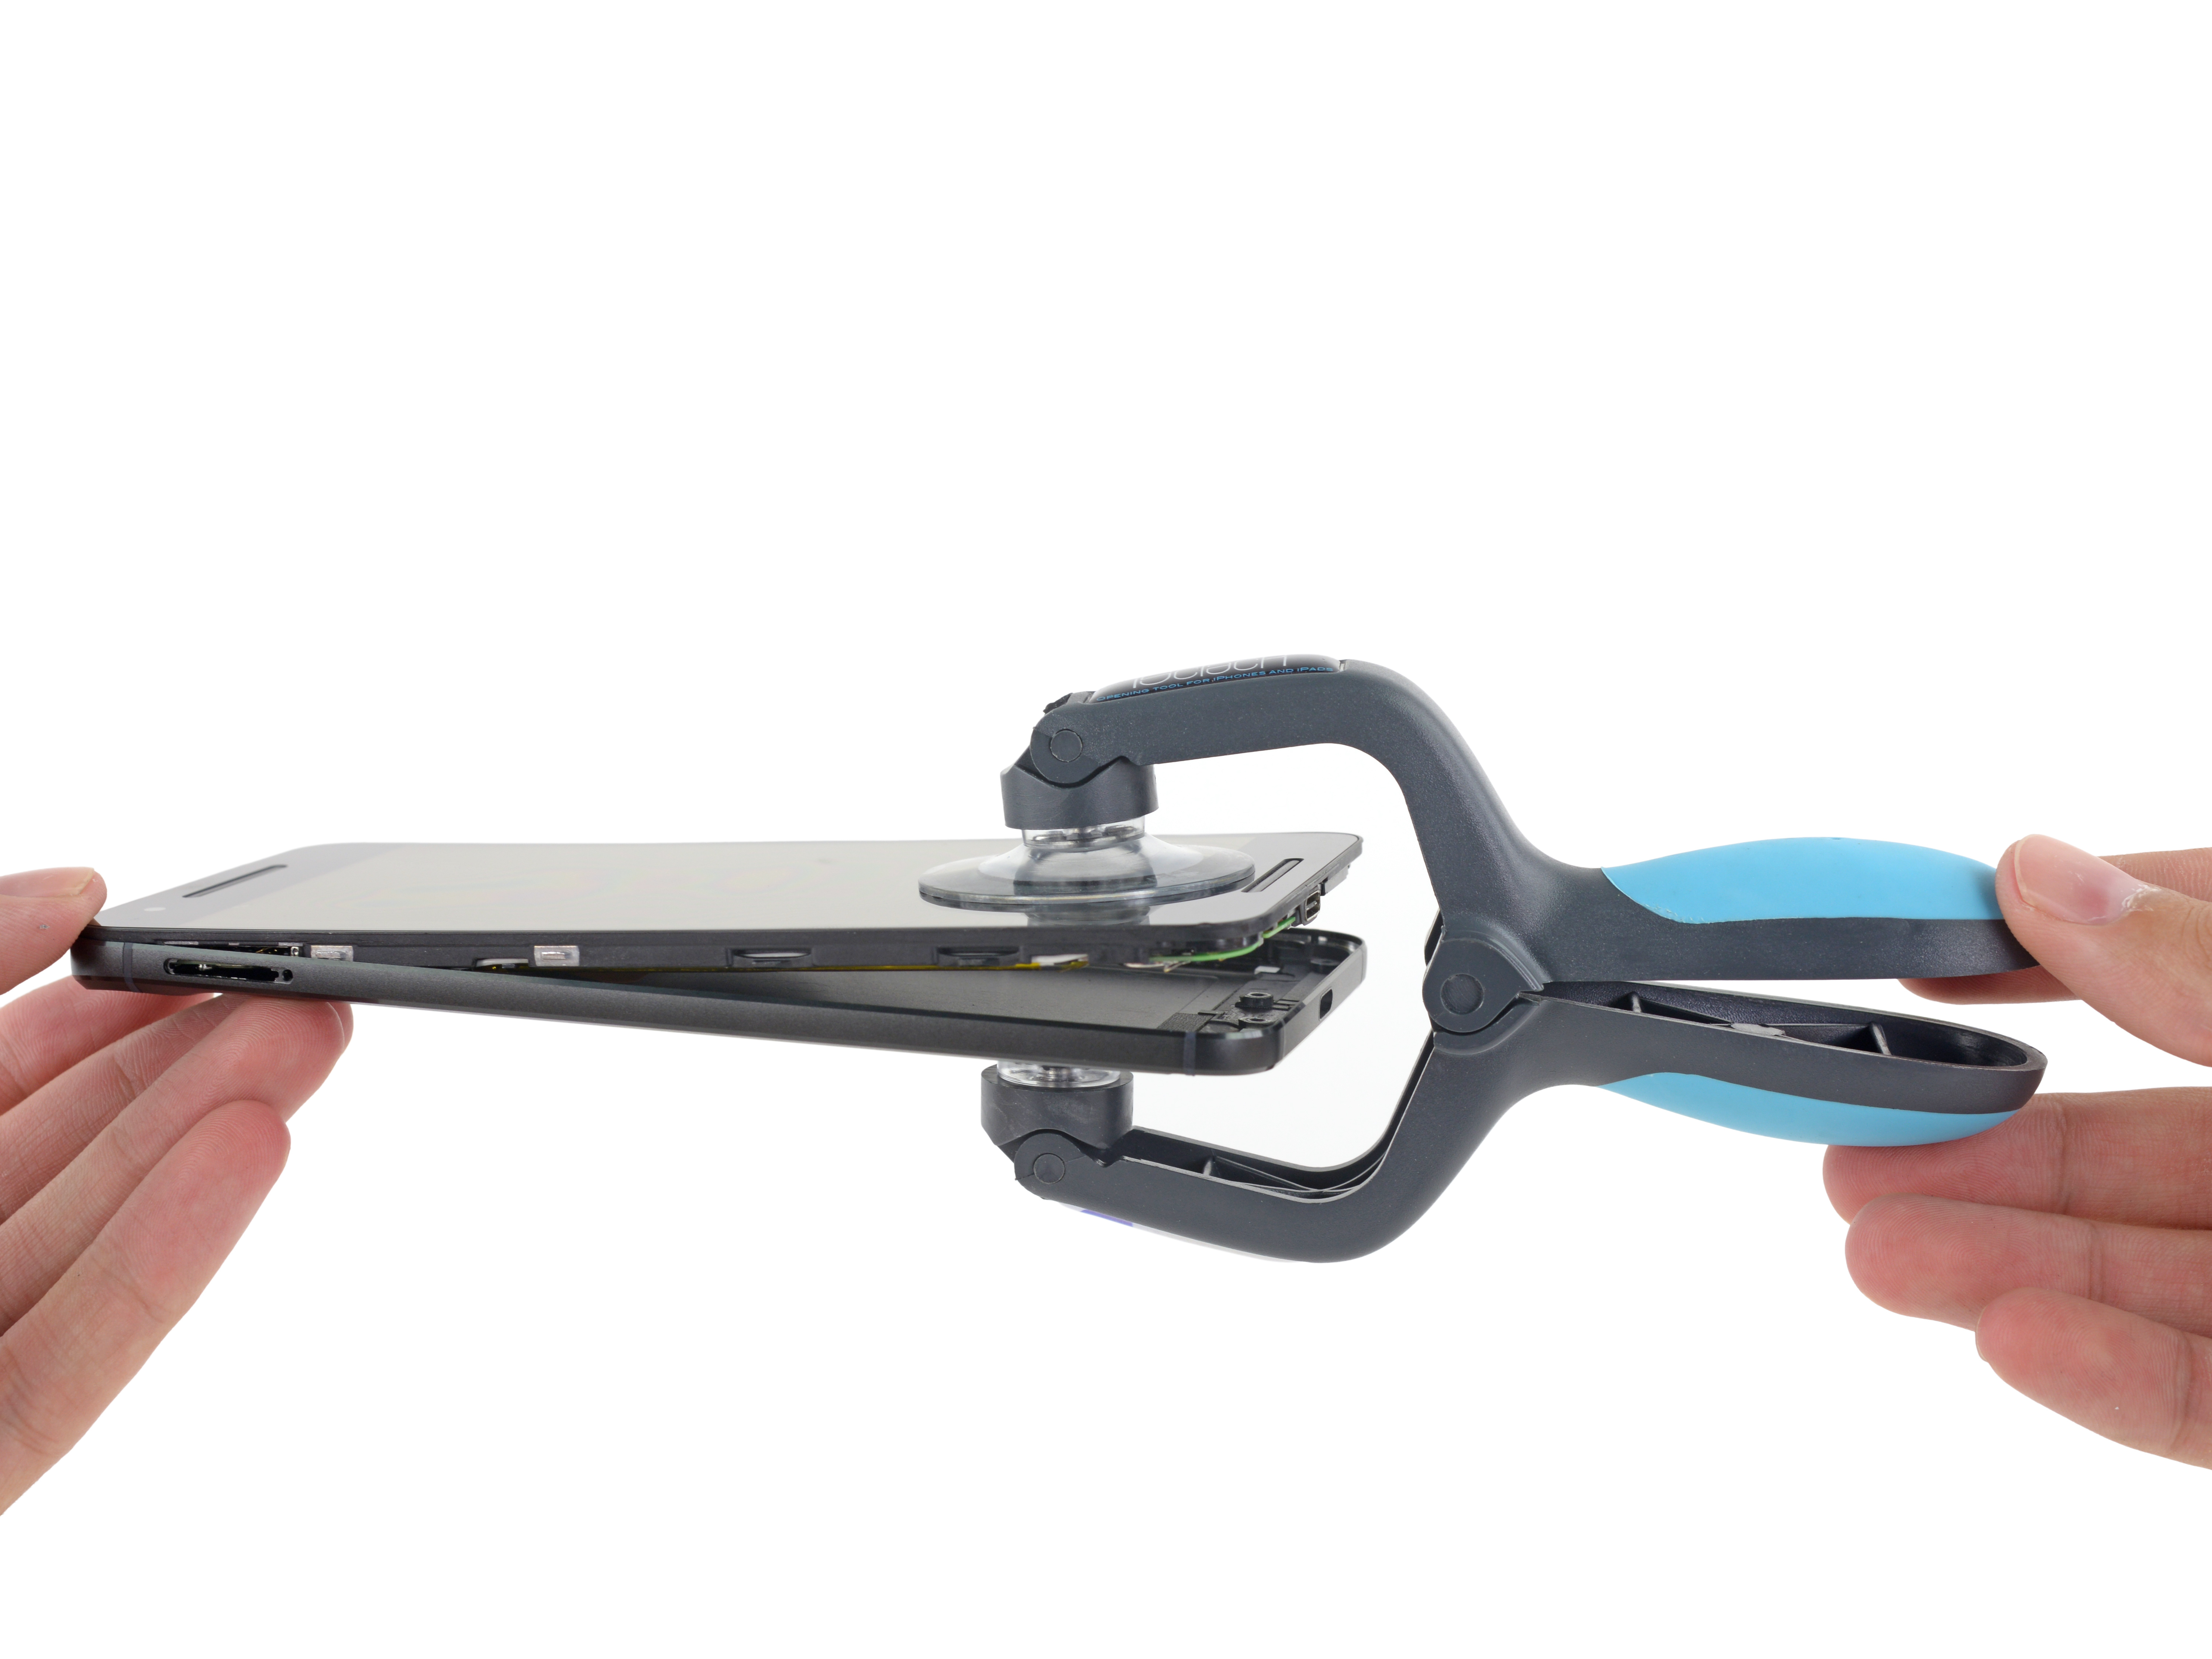
Then you have to use special props - suckers to separate them
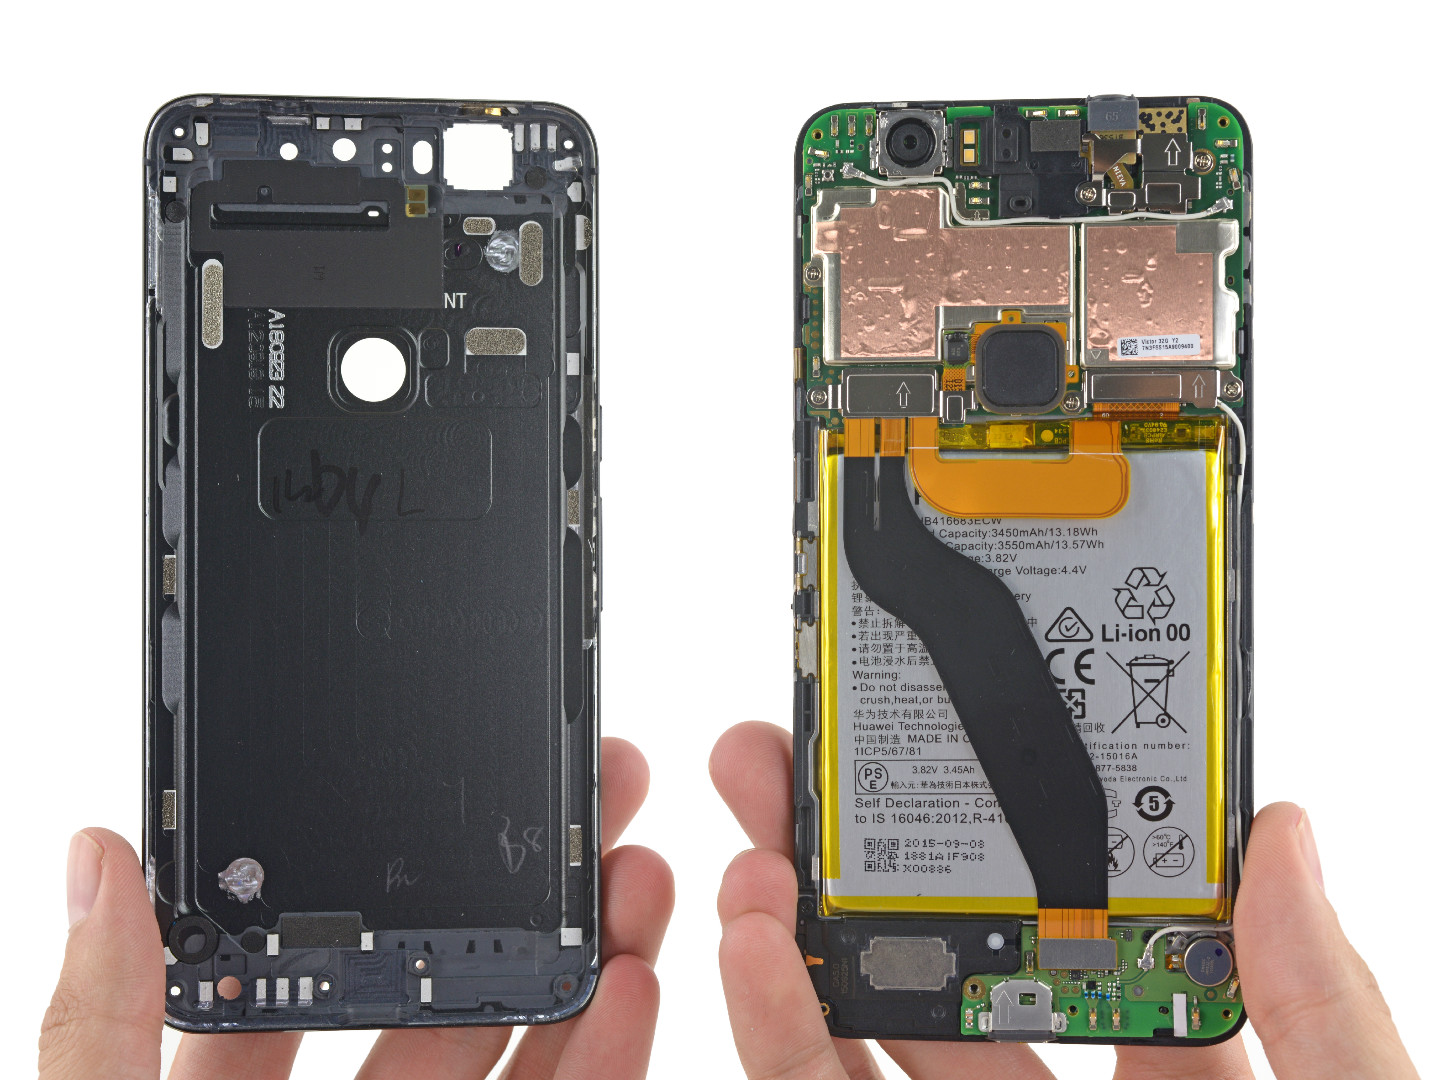
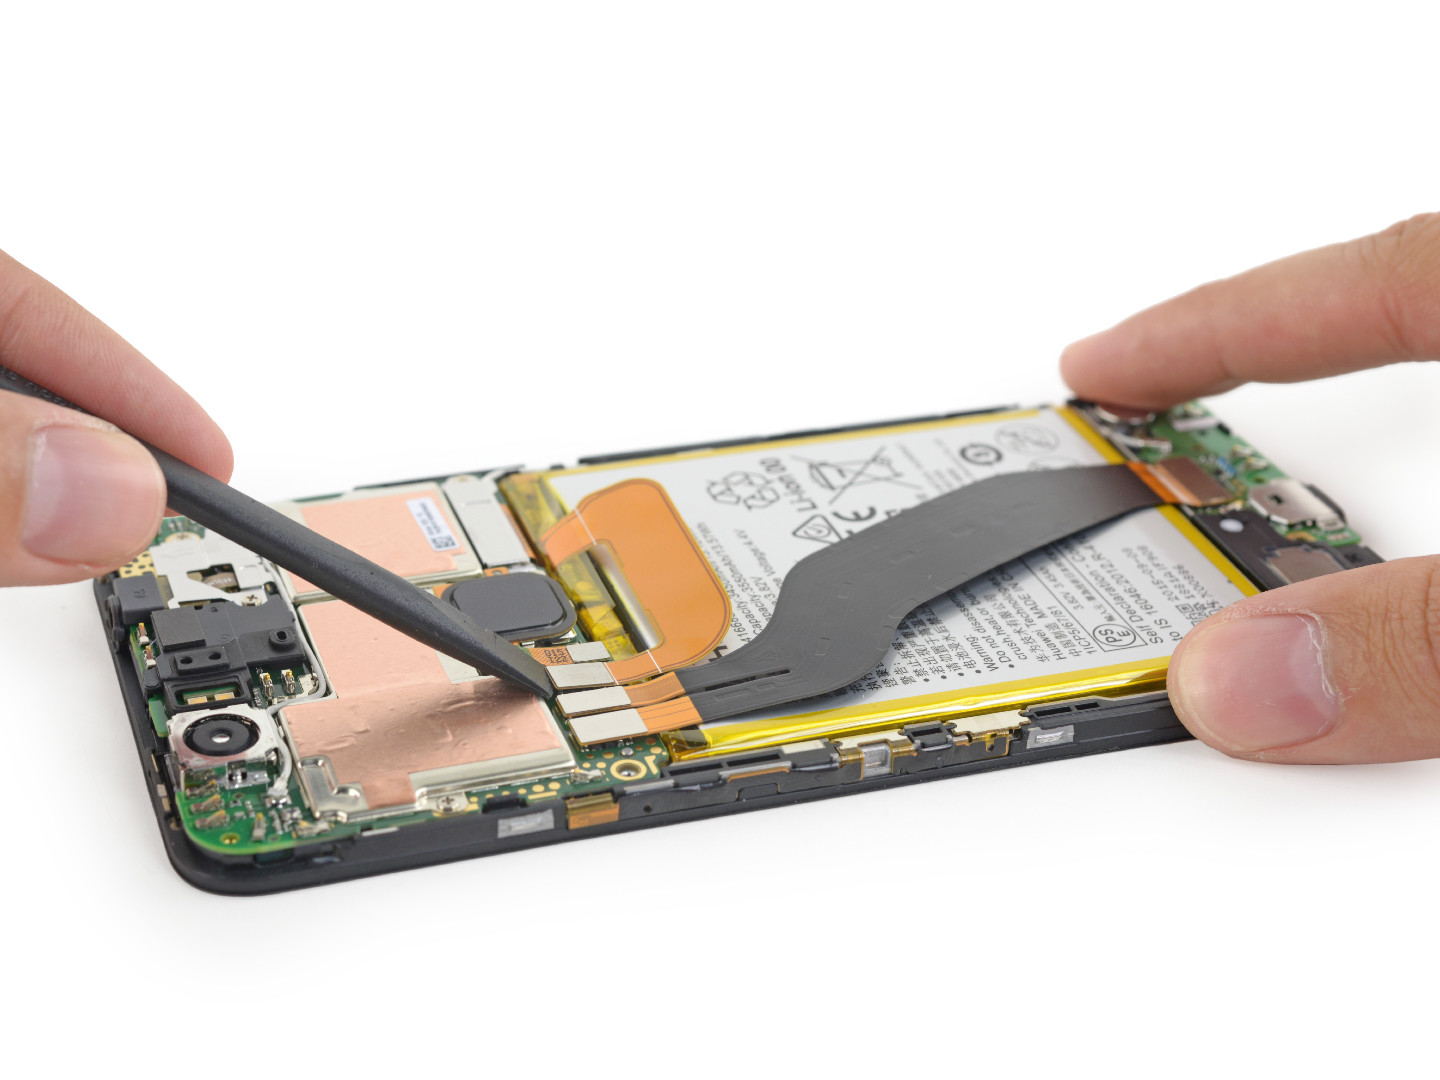
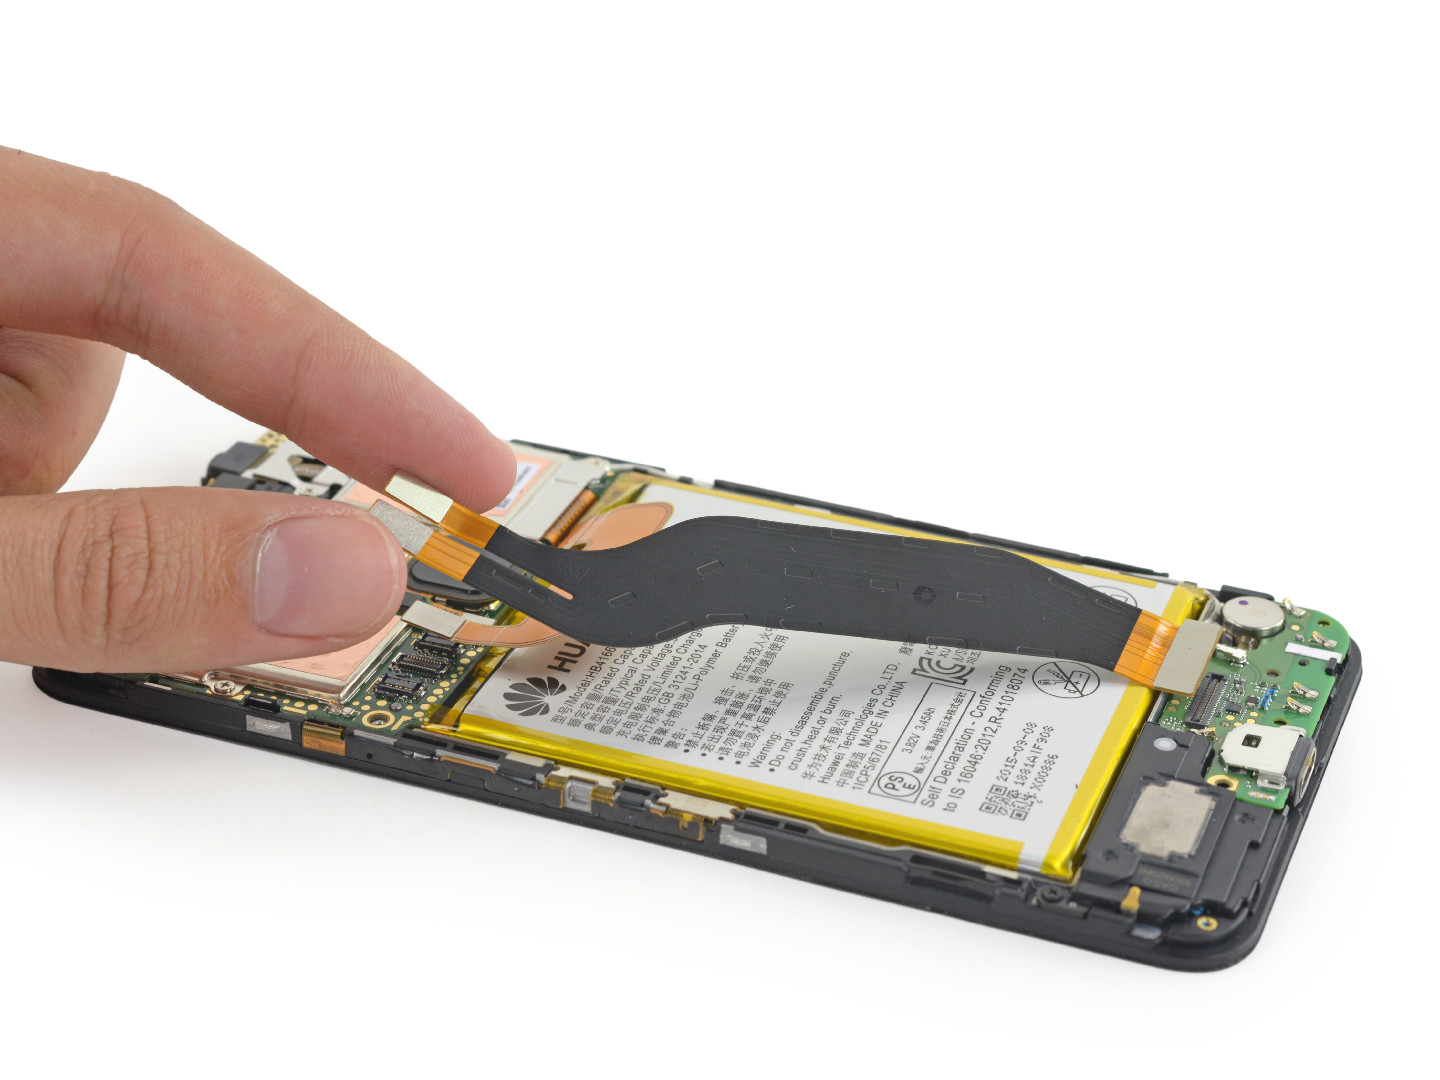
Finally saw the true colors, it can be clearly seen that the motherboard and the battery and the sub-board are connected together through the cable, there is a coaxial cable between the motherboard and the sub-board. iFixit said that its design is similar to that of the previous HTC One M7. The integration is relatively high and the maintenance is troublesome.
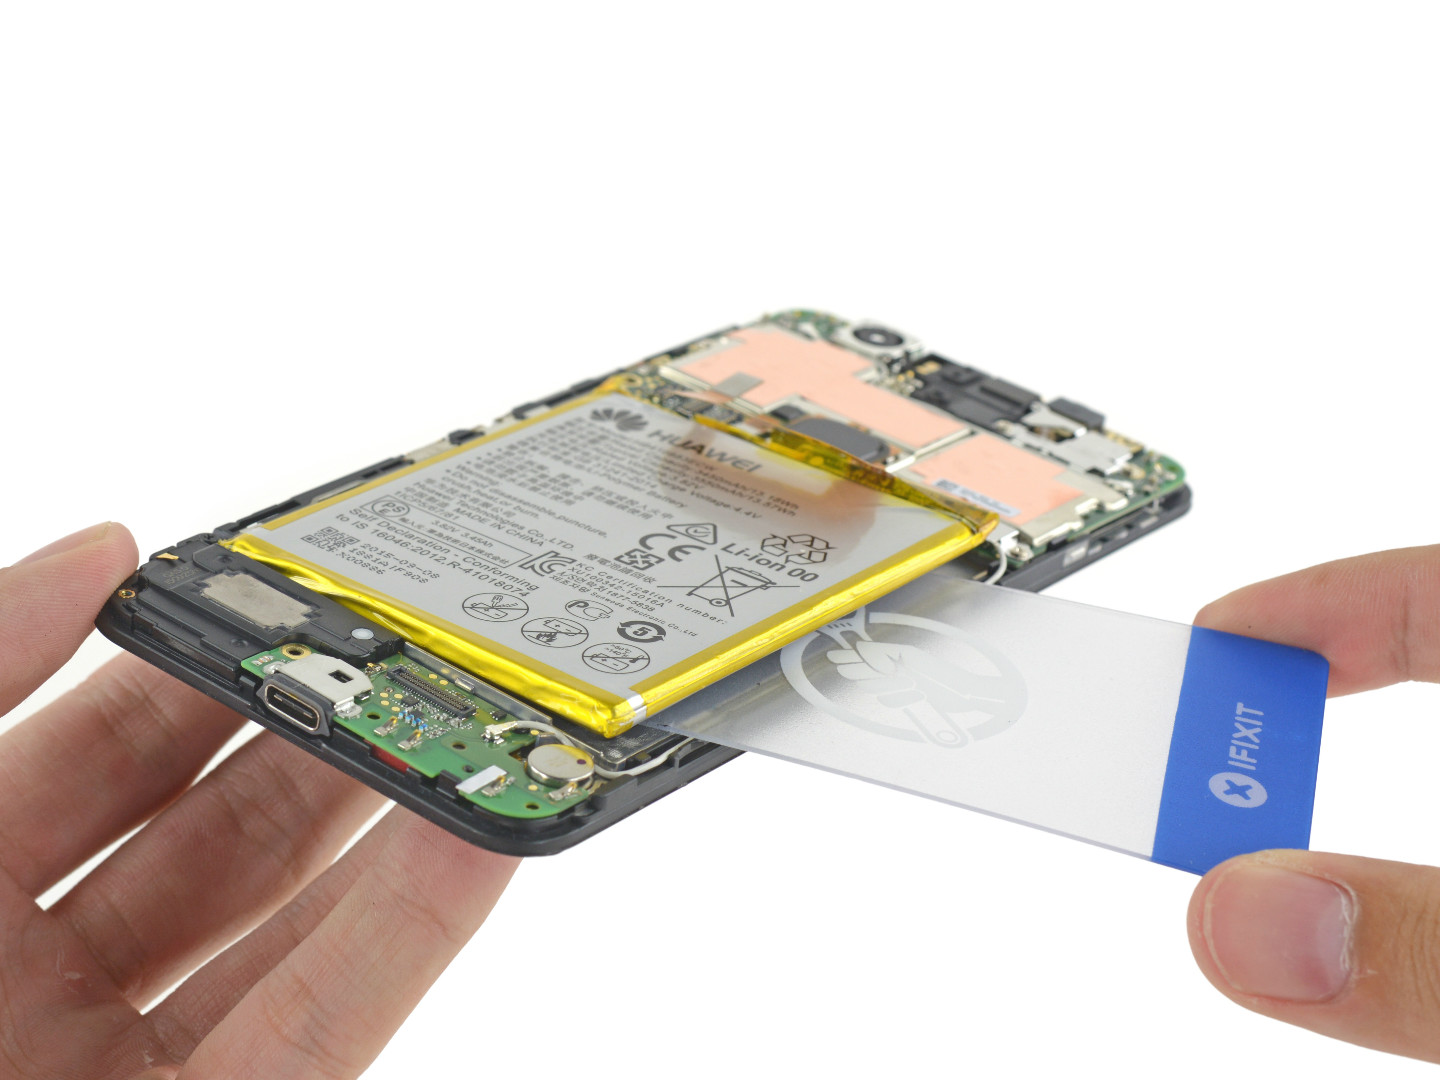
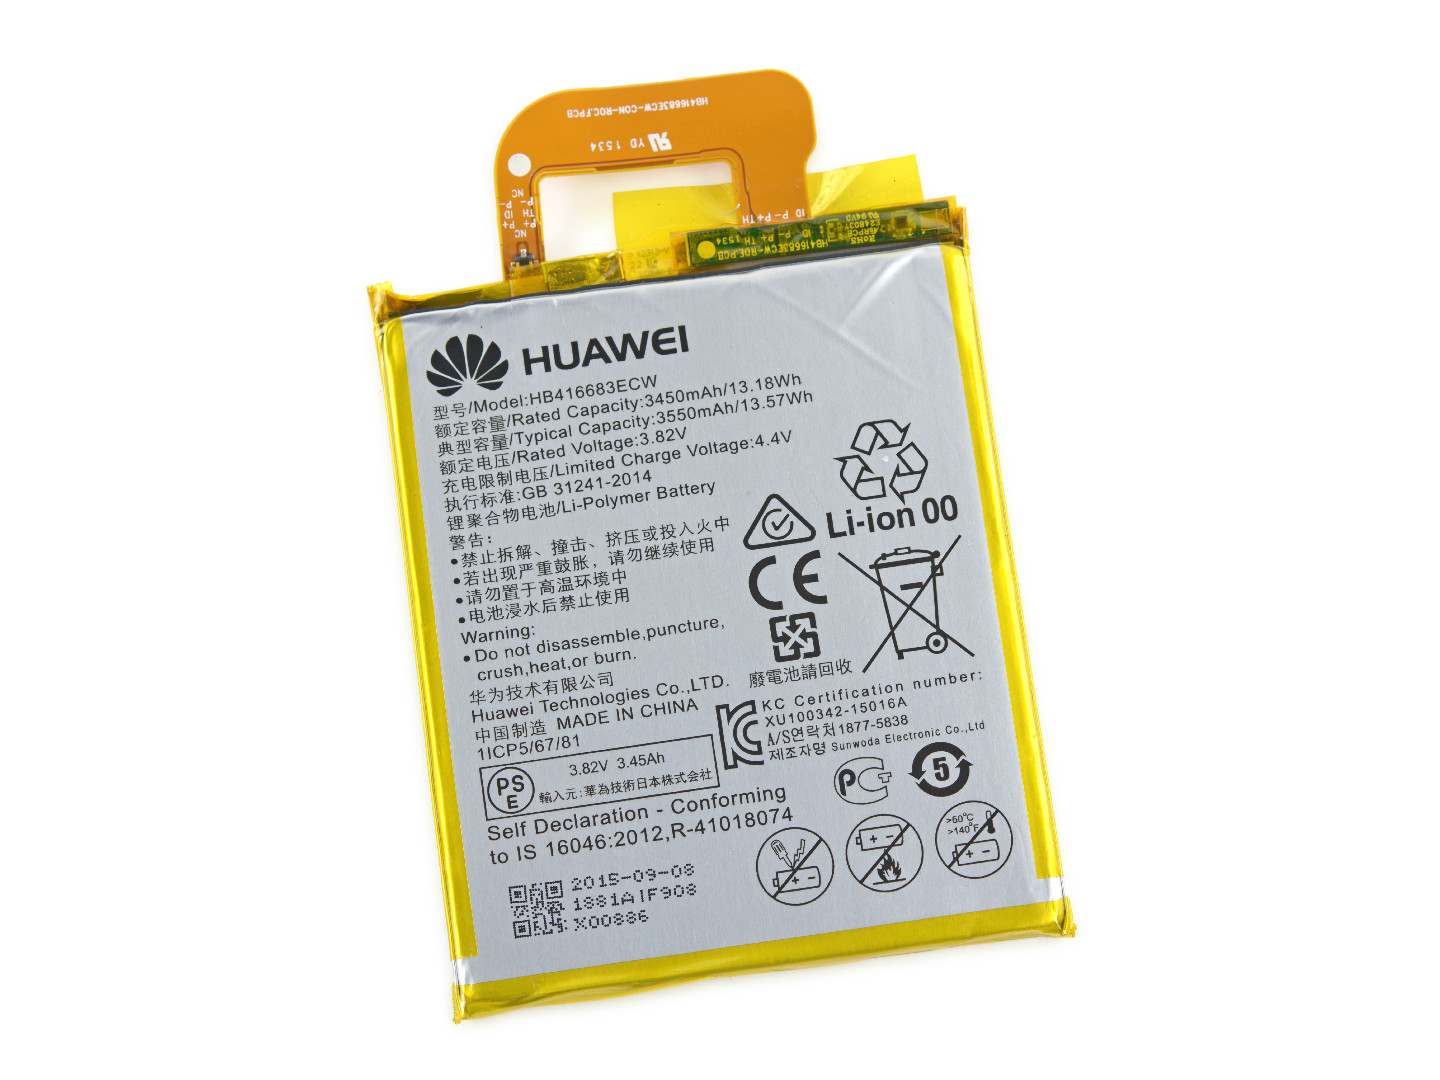
The battery is glued on the main board with glue, and it is carefully cut off after unplugging the cable. This is what iFixit calls a "Monster" battery, which is 3450mAh in size and has familiar Chinese instructions.
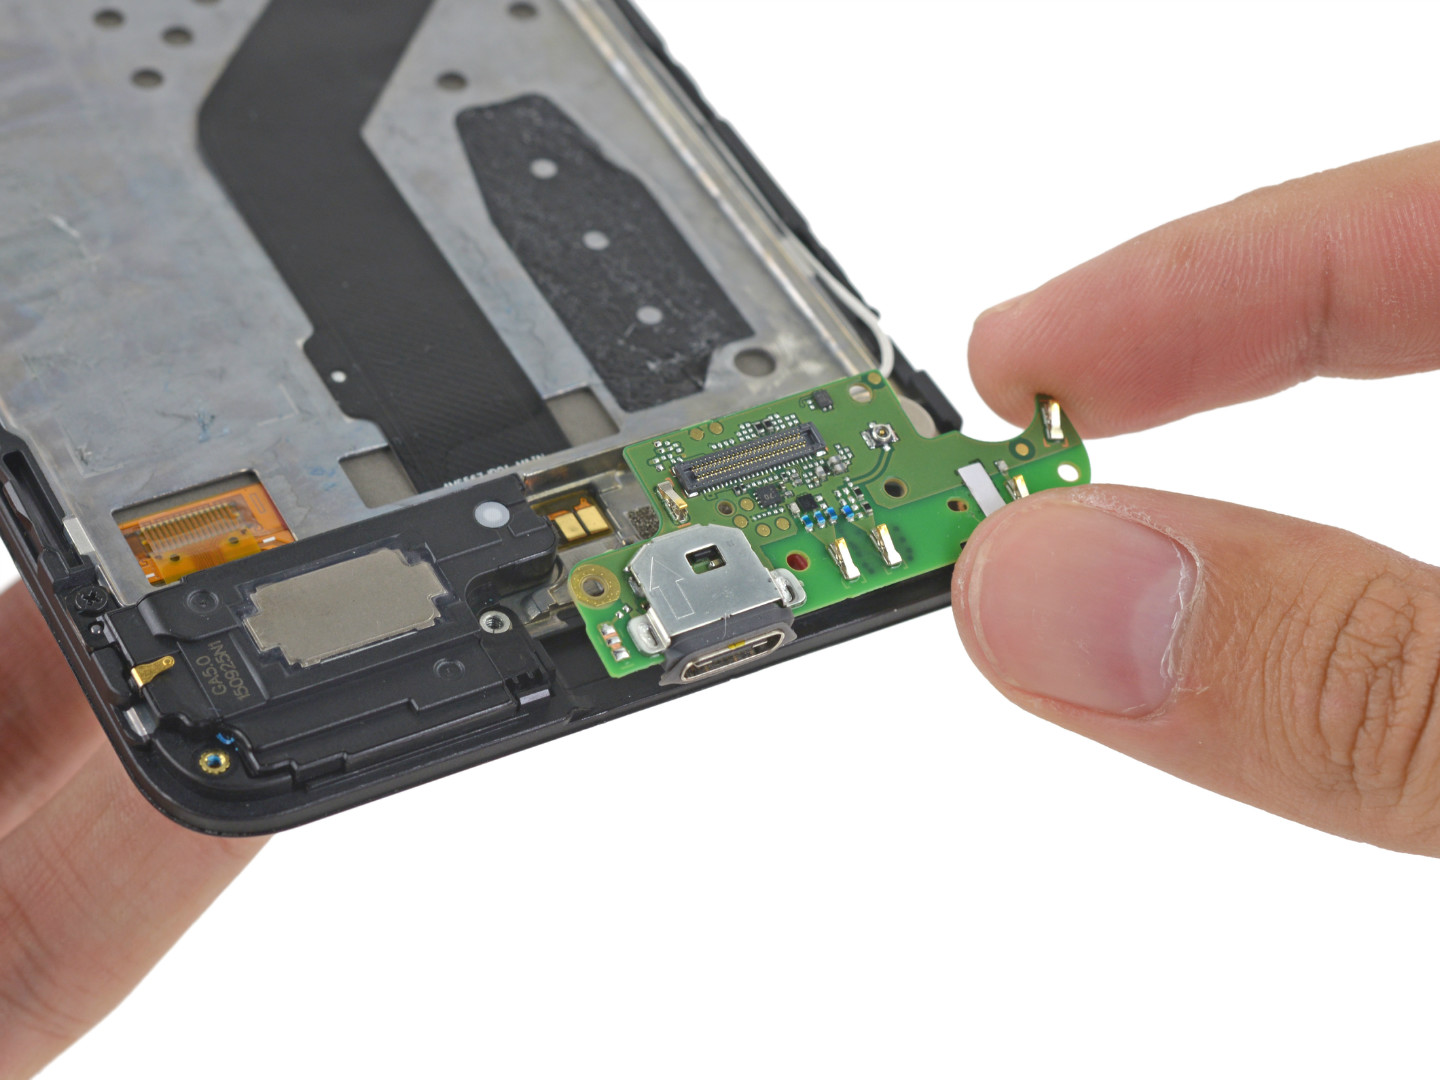
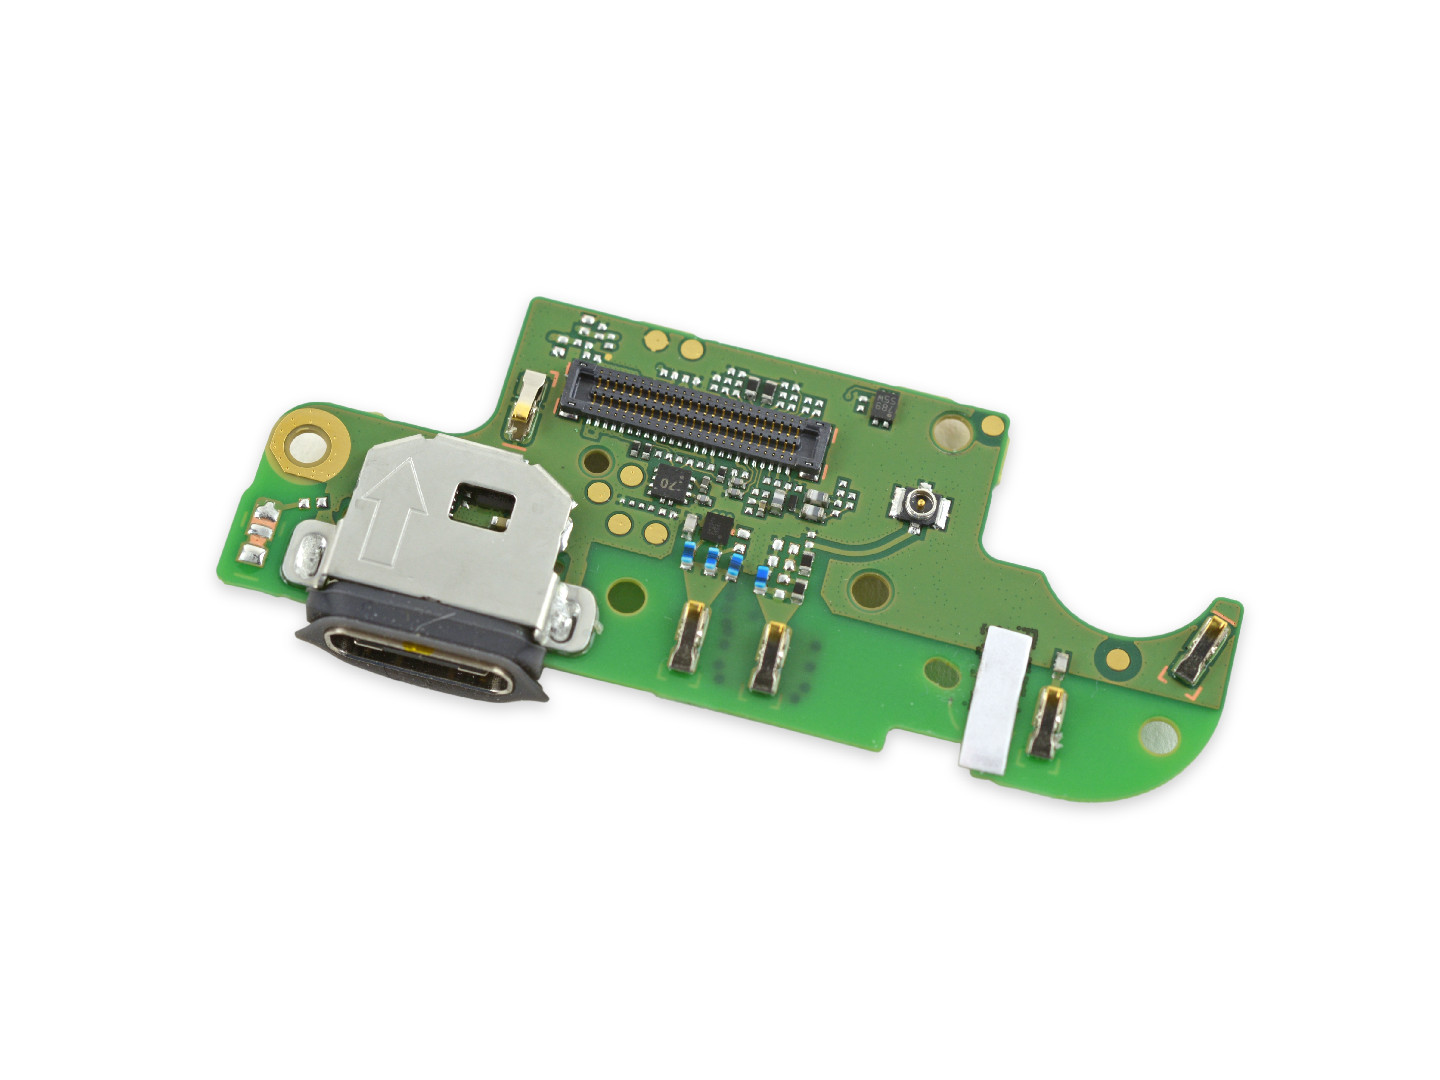
The sub-board at the bottom of the phone is basically a bit larger than the USB Type-C connector.
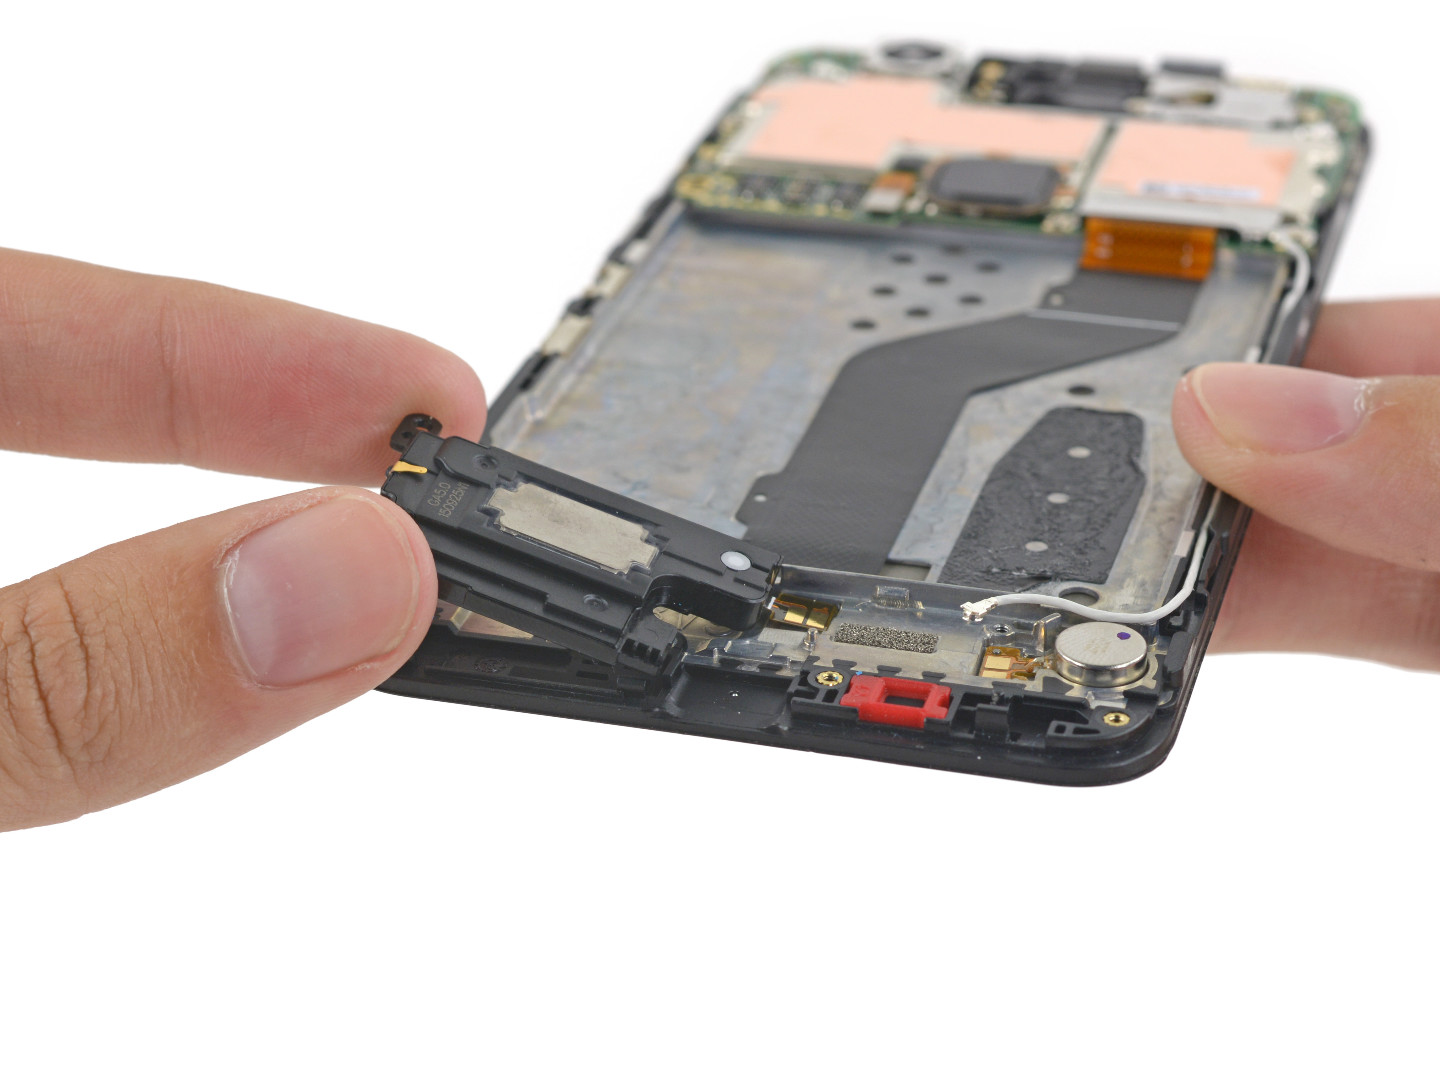
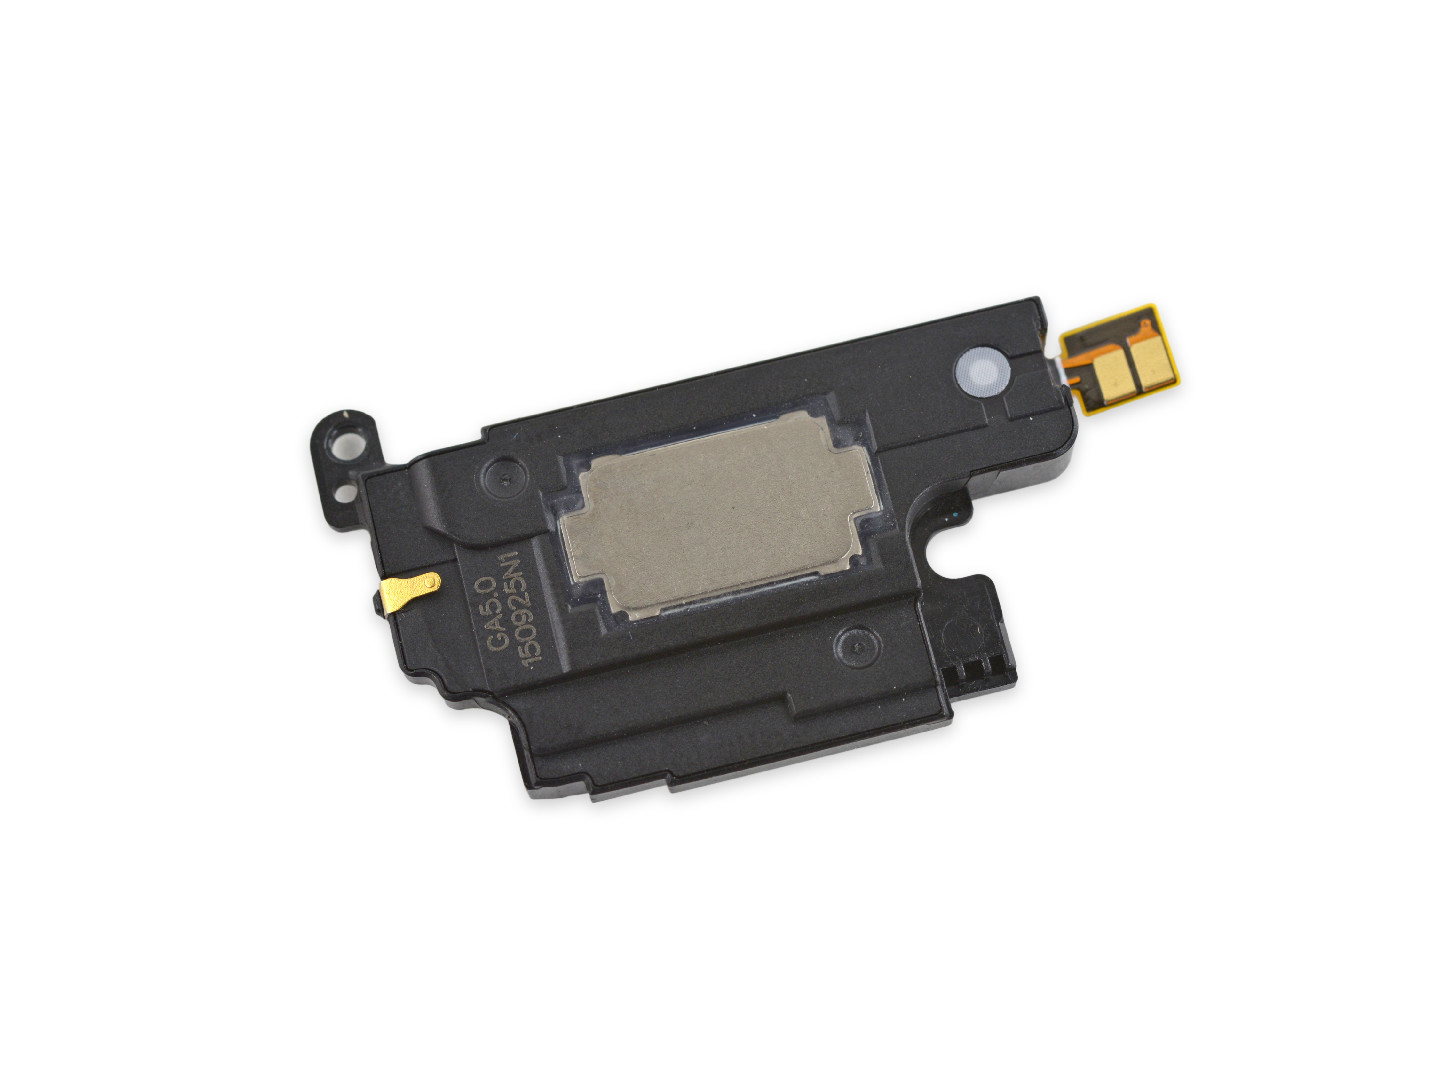
In front of the sub-panel is the front speakers, which are larger in size. This design has also appeared in Google's previous Nexus 9 and Nexus 6.
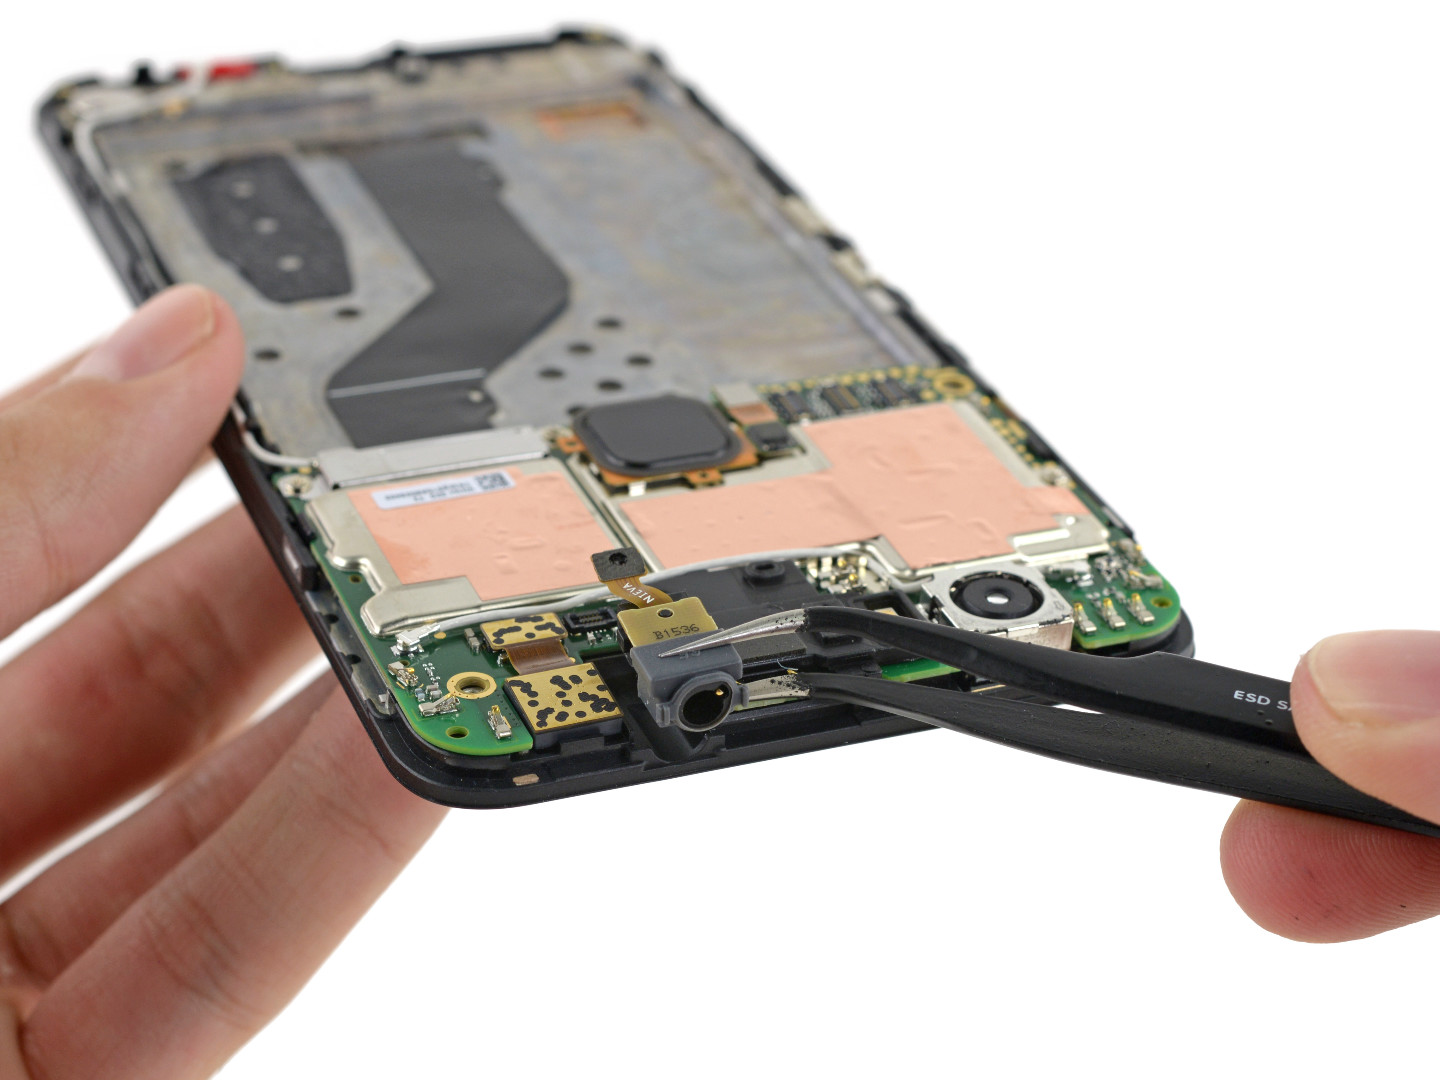
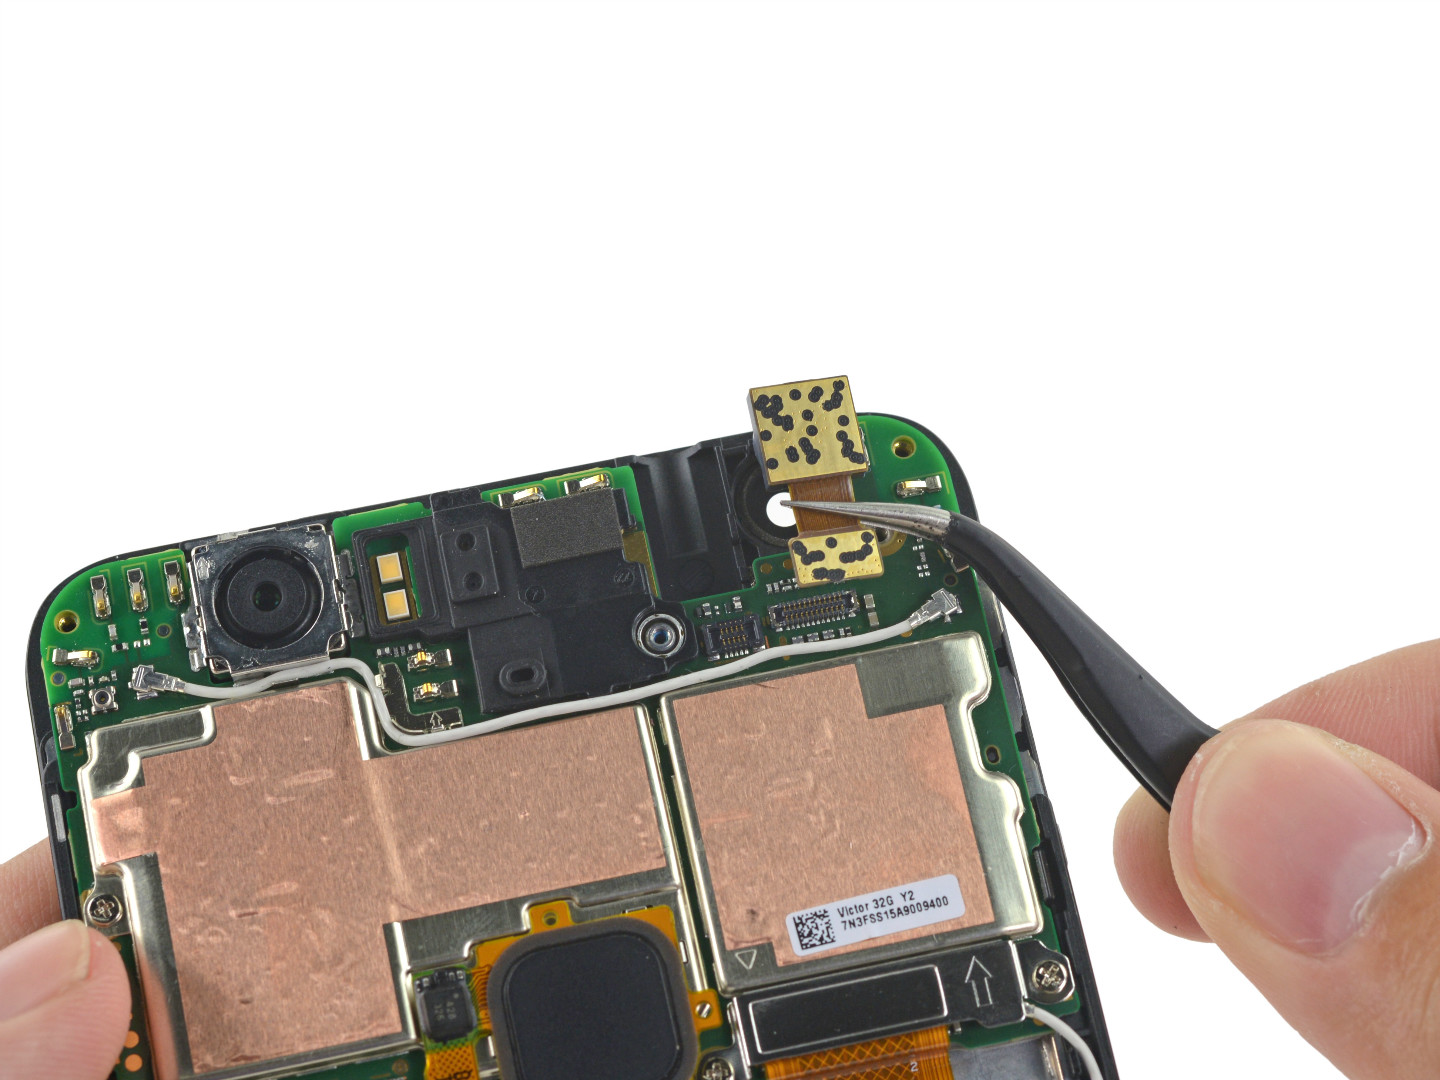
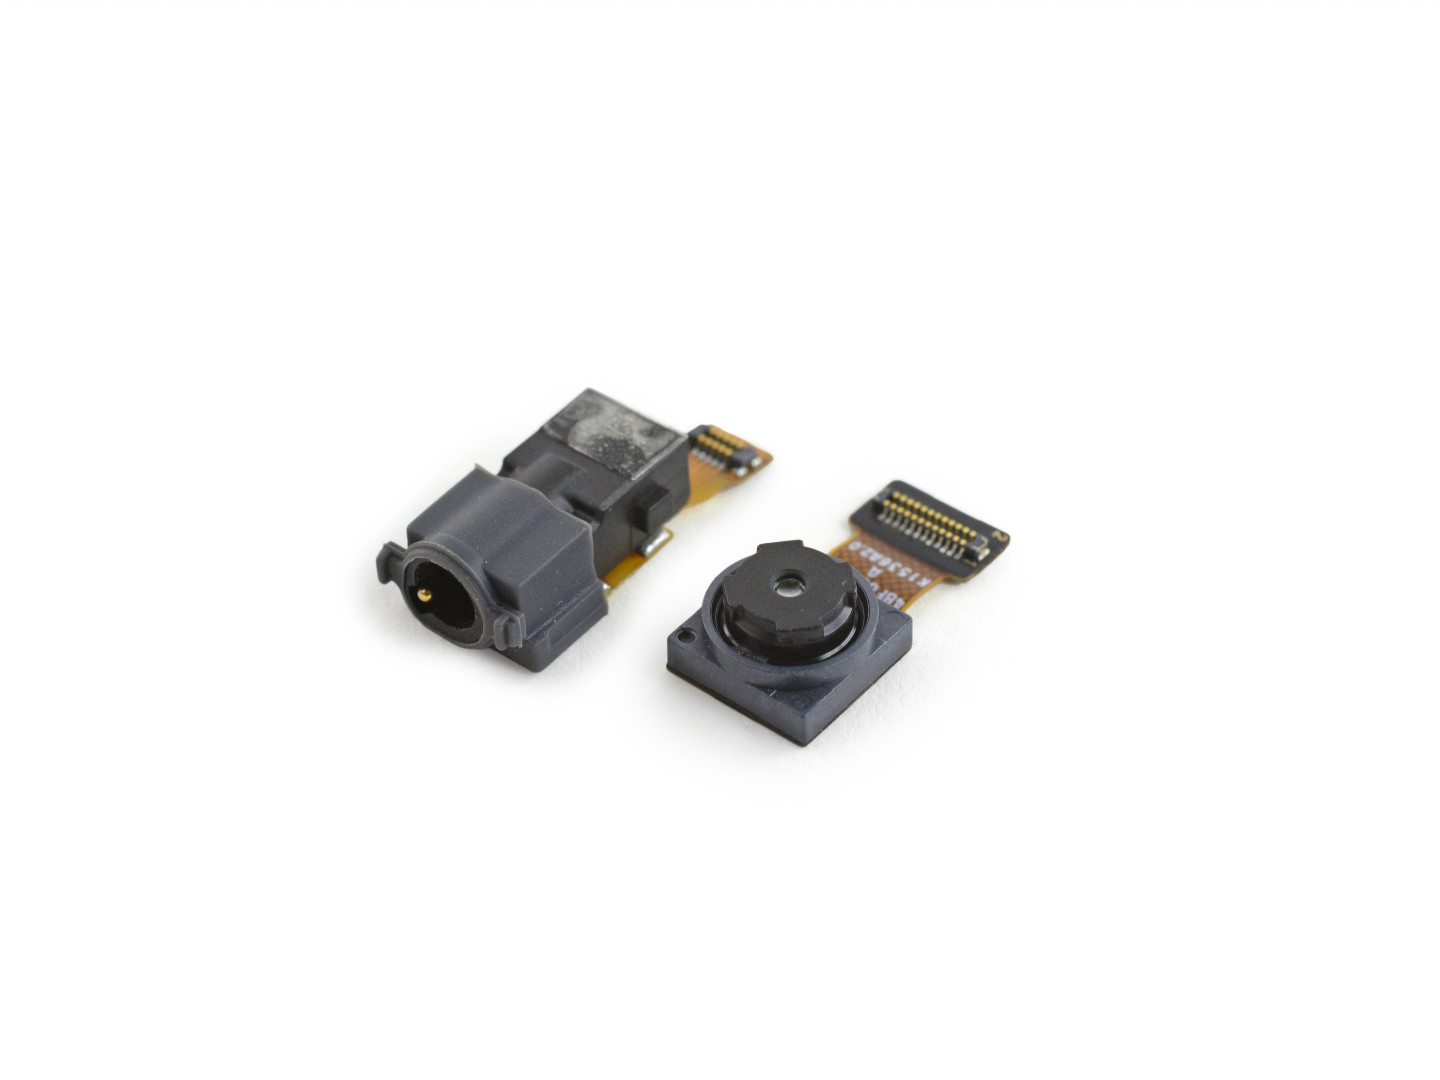
Remove the headphone jack and front camera on the motherboard. The front camera is 8 million, f/2.4 aperture, and the unit pixel area is 1.4 microns.
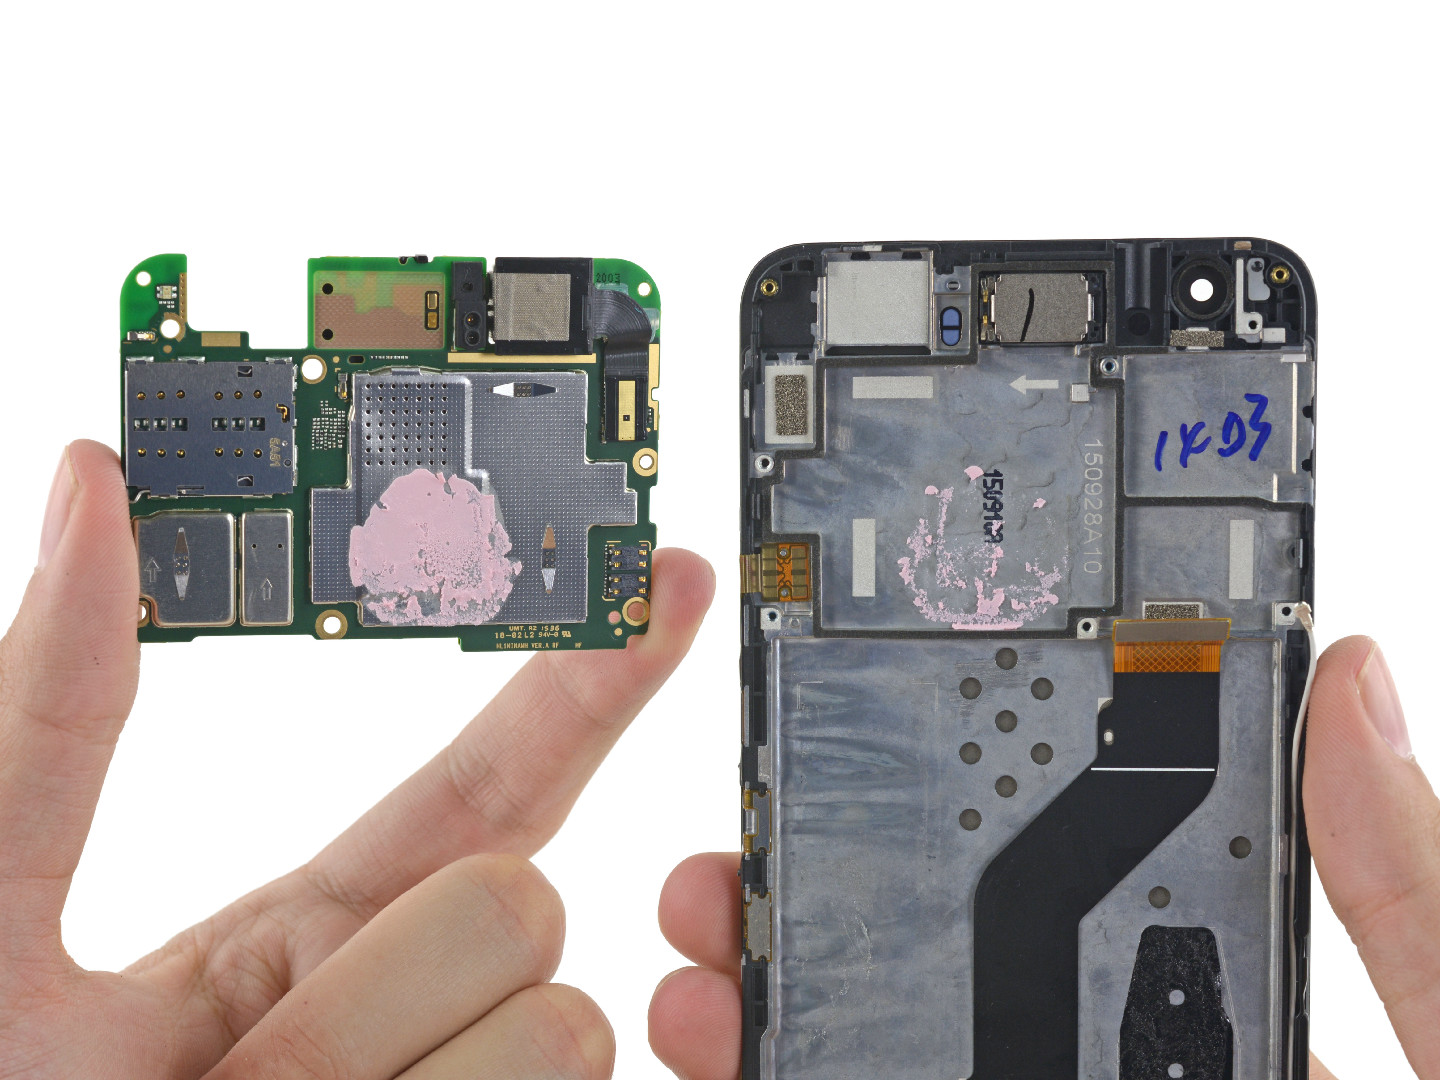
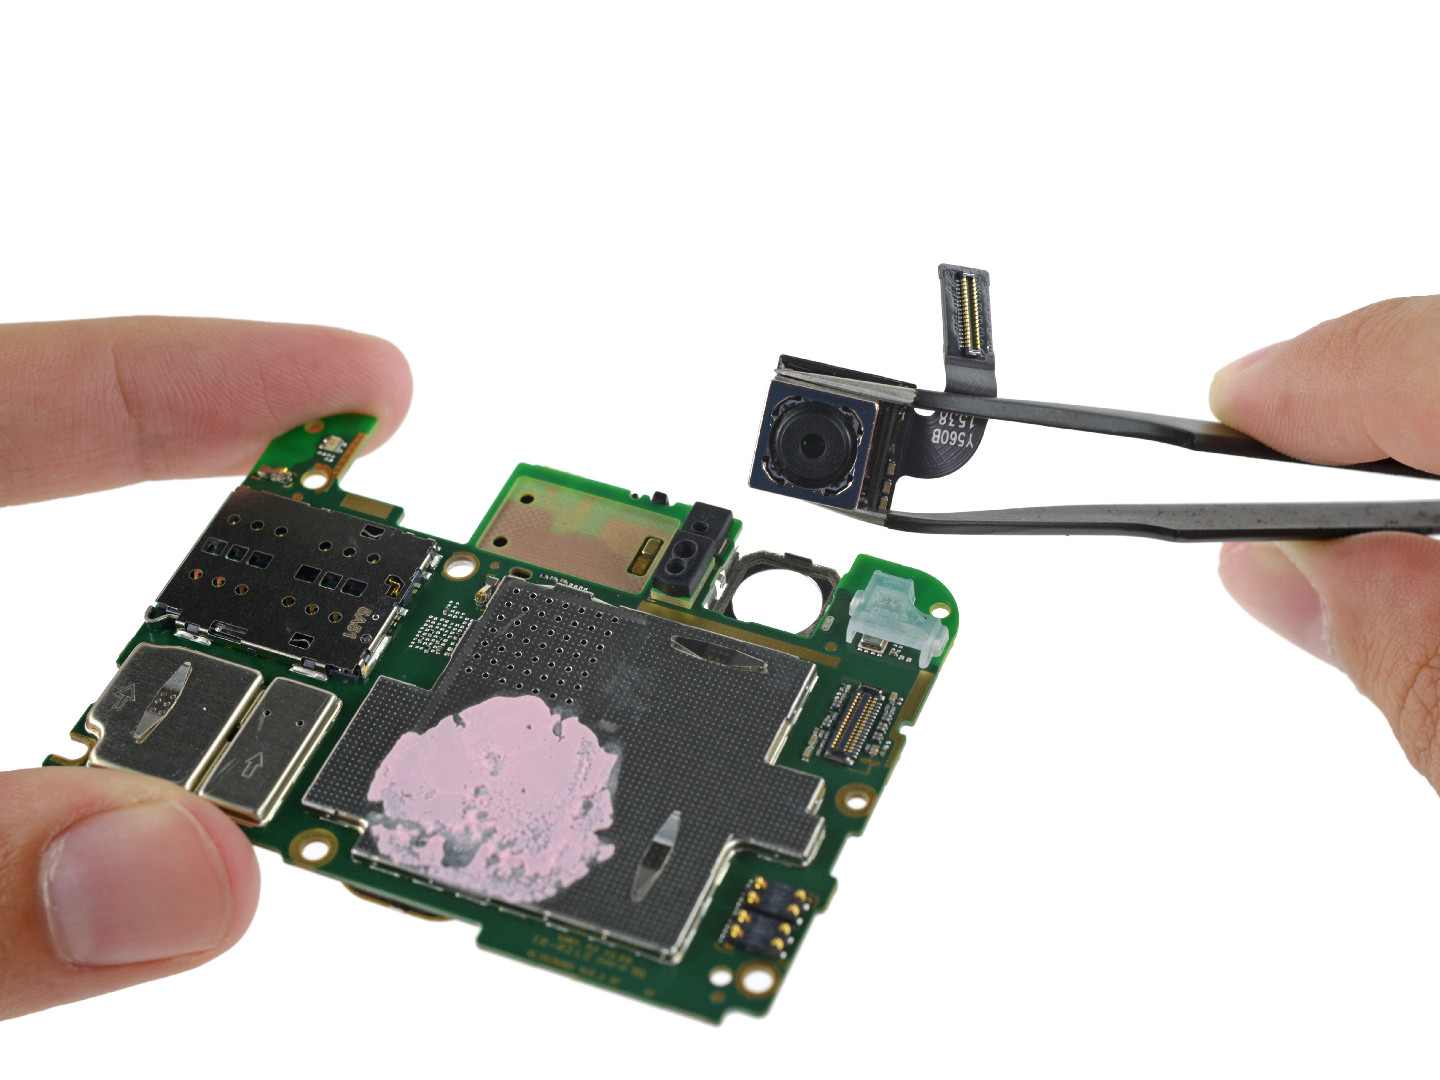
Separation of the motherboard and screen, the rear camera can be successfully won, and 12.3 million pixels like 5X, f/2.0 aperture, CMOS is Sony's IMX377.
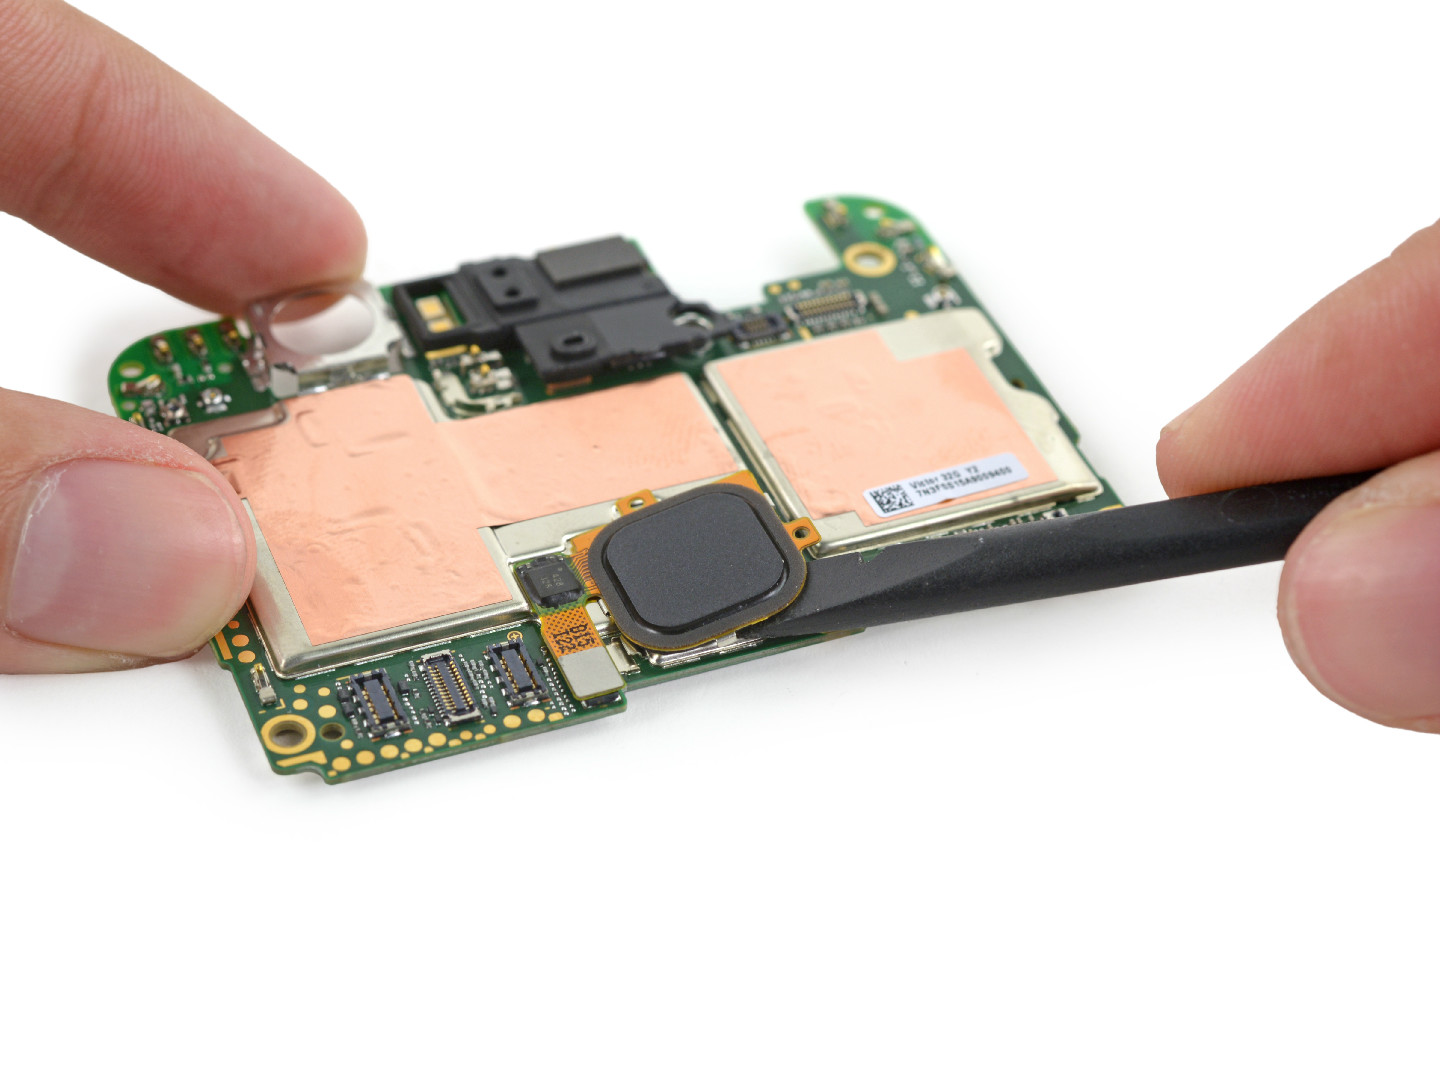
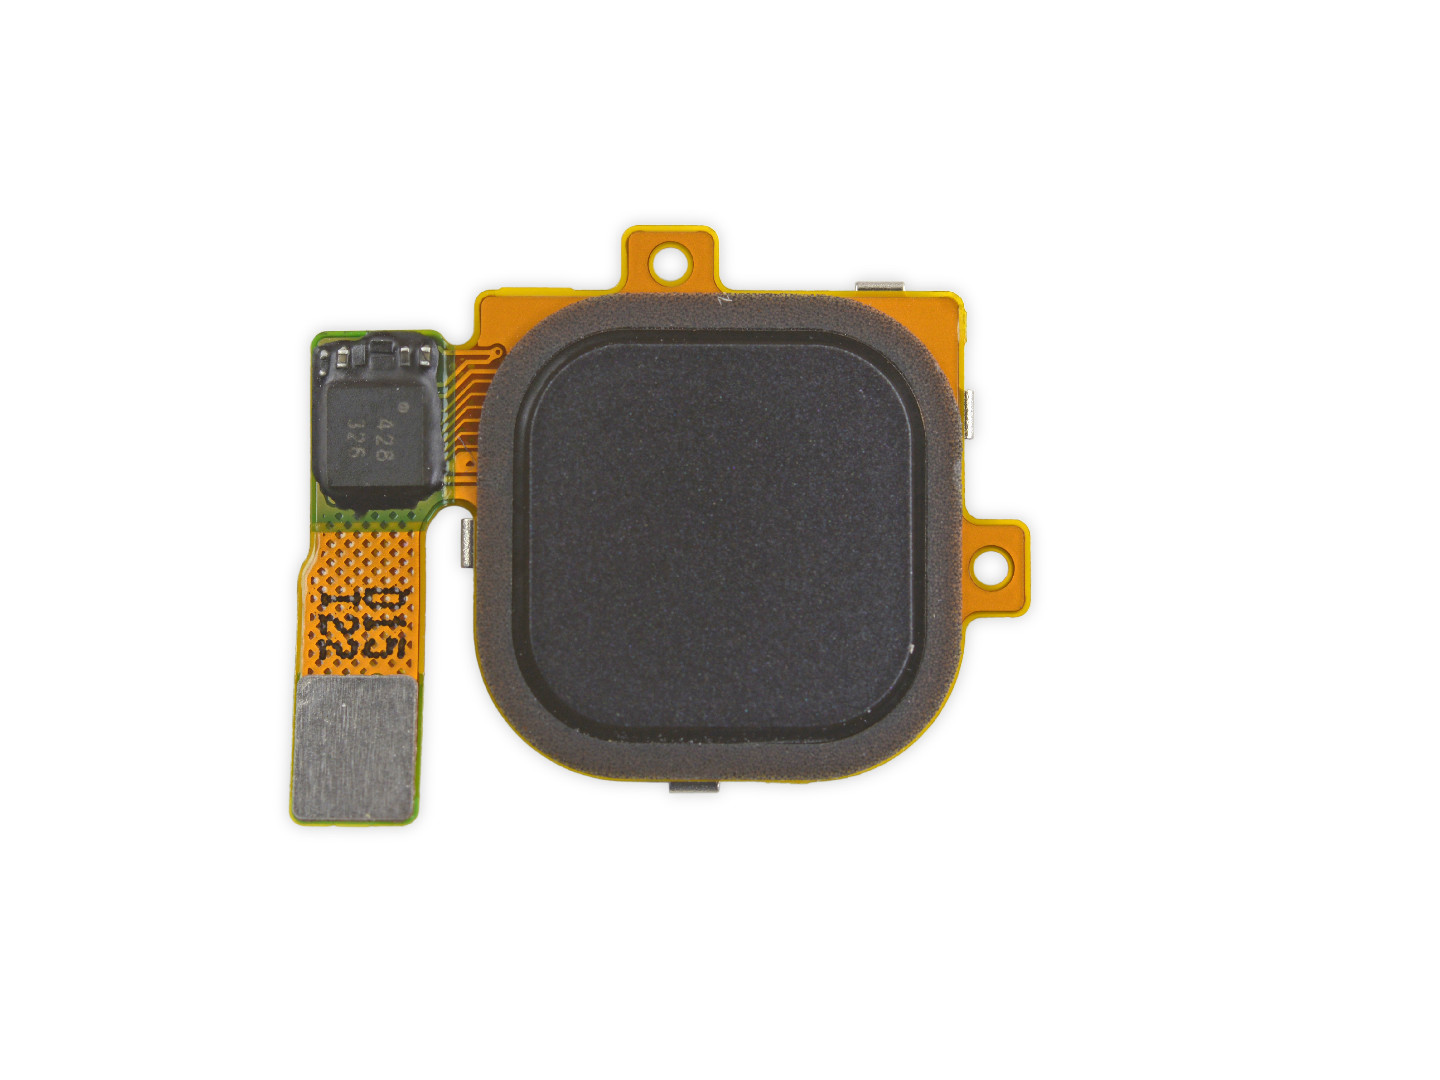
Then the fingerprint sensor that Google calls Nexus Imprint can be disassembled, and the outside looks like a circle, which is actually a square.
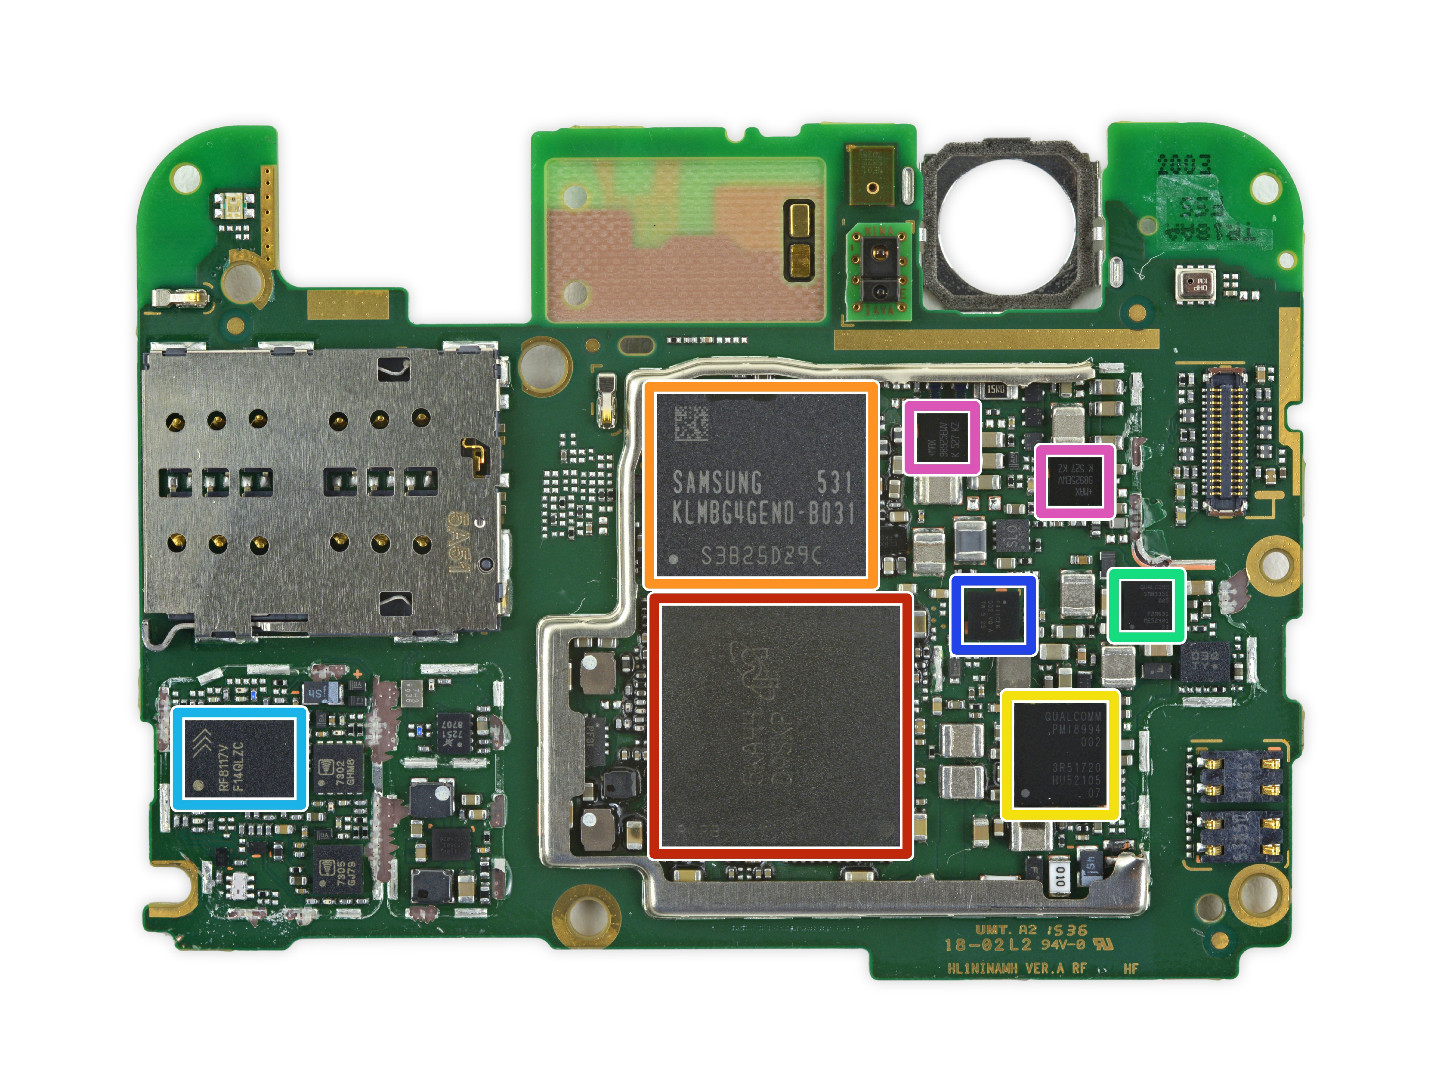
Violation to open the metal shield, you can see the important chip on the motherboard.
Red: Magnesium MT53B384M64D4NK-062 3 GB LPDDR4 memory, the following is the Qualcomm Snapdragon 810 2.1 version 2.0 GHz eight-core 64-bit CPU
Orange: Samsung KLMBG4GEND-B031 32 GB eMMC 5.0 Flash
Yellow: Qualcomm PMI8994 power management IC (this chip is also used on the Nexus 5X)
Green: Qualcomm SMB1351 Fast Charge IC (SMB1358 on Nexus 5X)
Sky blue: RF Micro Devices RF8117V
Blue: STMicroelectronics STM32F411CE 32-bit 100 MHz ARM Cortex-M4 Reduced Instruction Set Microcontroller
Purple: Maxim's MAX989 Dual Power Comparator
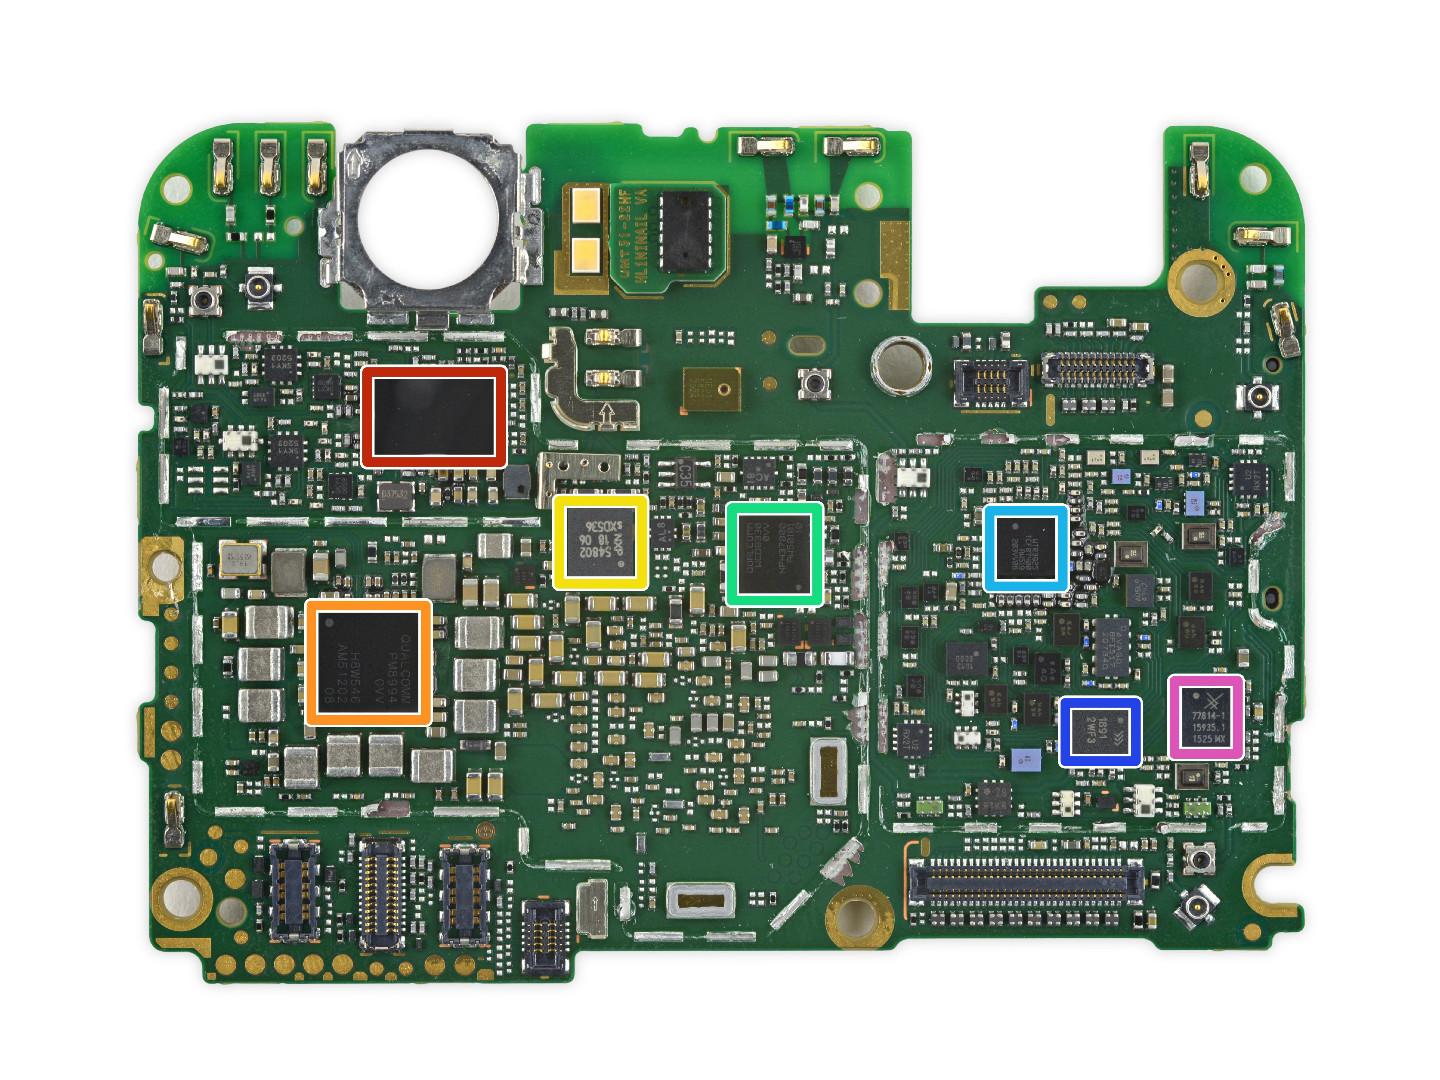
Turned to the back of the motherboard, the chip is relatively small.
Red: Broadcom BCM4358 5G WiFi 802.11ac module
Orange: Qualcomm PM8994 Power Management IC (Nexus 5X and HTC One M9)
Yellow: NXP PN548 NFC Controller
Green: Qualcomm WCD9330 Audio Codec
Sky Blue: Qualcomm WTR3925 RF Converter
Blue: Weixin RF1891 antenna module
Purple: Skyworks 77814-11 LTE Power Amplifier
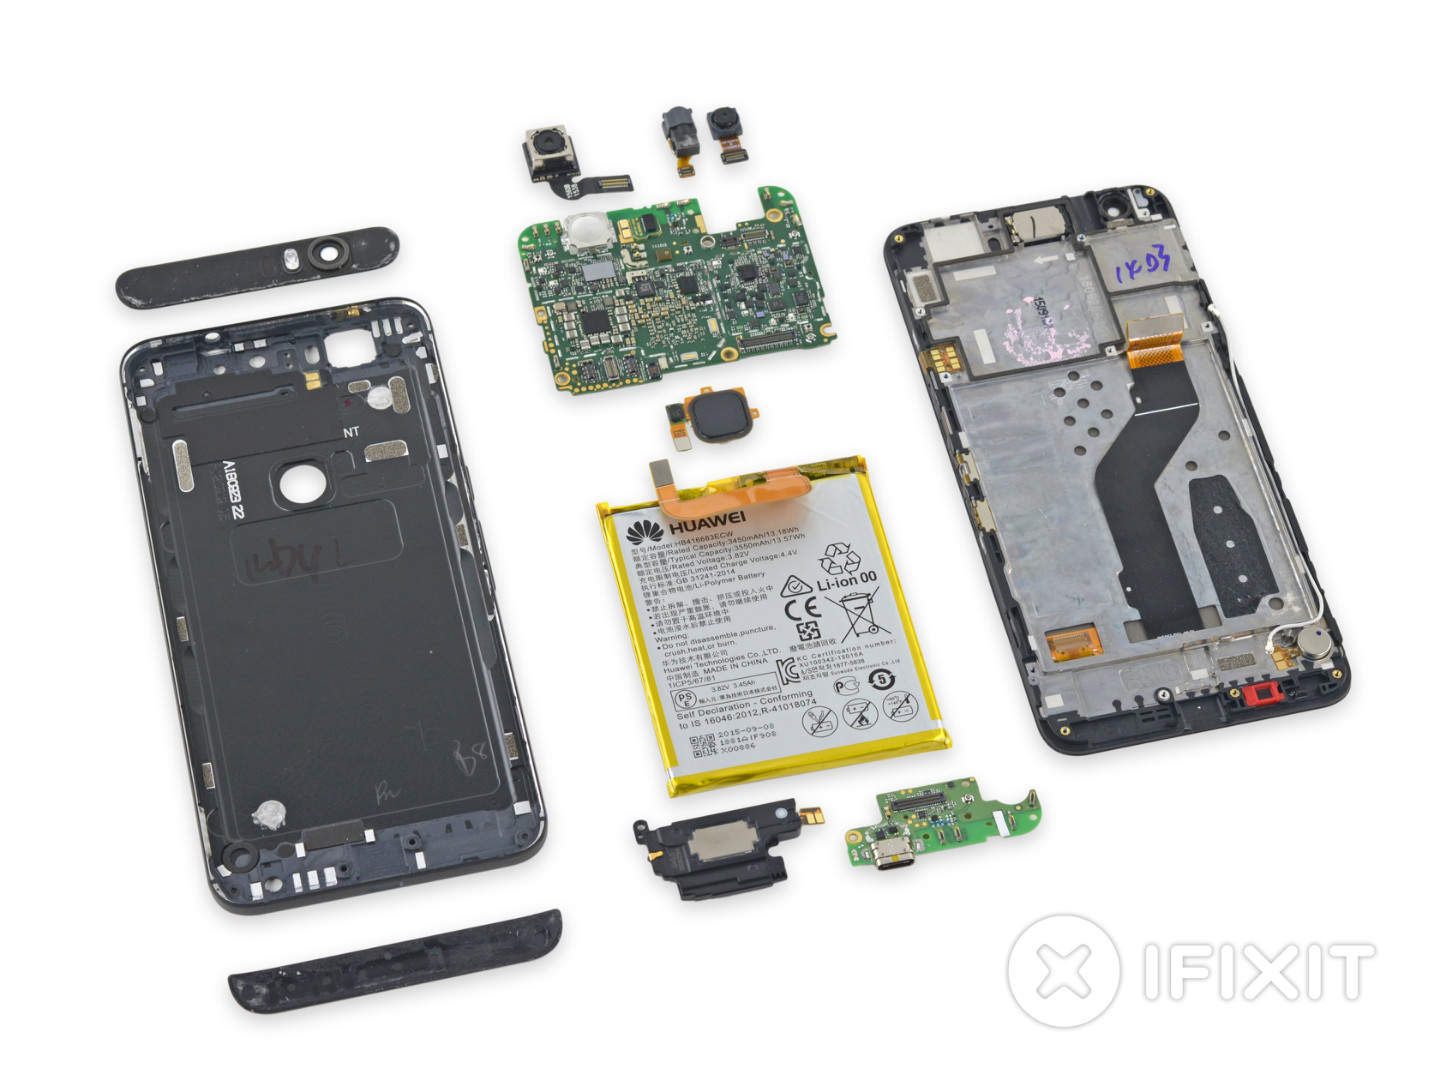
The dismantling is here, and of course it is a complete family portrait. iFixit gives a score of 2 points, out of which the score of 10 is the easiest to fix. This score means that if the phone is broken, the user will be able to solve the problem on his own, and the estimate will have to be returned to the factory.
Source iFixit

3.5mm ribbon connectors are used to connect ribbon cables to audio and video devices such as headphones, speakers, microphones, and cameras. These connectors are commonly used in the electronics industry because they provide a secure and reliable connection. They are easy to install and remove, making them ideal for DIY projects or repairs.
3.5mm ribbon connectors are available in various configurations, including straight and right-angle versions, and can be used with different types of ribbon cables. They are also compatible with a wide range of audio and video devices, making them a versatile choice for many applications.
3.5Mm Ribbon Connector,Bh3.5 Ribbon Connector,Ribbon Cable Adapter,Ribbon Wire Connectors
YUEQING WEIMAI ELECTRONICS CO.,LTD , https://www.weimaiwafer.com
